Next.js Starter Template With Authentication + React 17 + TypeScript + Tailwind CSS 2 + ESLint
Next.js has become my go-to framework for almost every project that I make. So, I made a starter template that I can just use and get started easily.
In this article, I will show you how to use the starter template that I made and deploy it with Vercel. I will also be connecting a Postgres database which I will create on Heroku.
What all does this starter template has?
- Next.js/React 17
- TypeScript
- Tailwind CSS 2
- React Query
- React Query Dev Tools
- Prisma 2
- GitHub Auth
- Email + Passwordless Auth
- Postgres
- ESLint
- Prettier
- Husky
If this is the tech stack that you are interested in, then follow along.
1. Use Template

Go to pbteja1998/nextjs-starter repo and click on Use this template button.
2. Create Repo
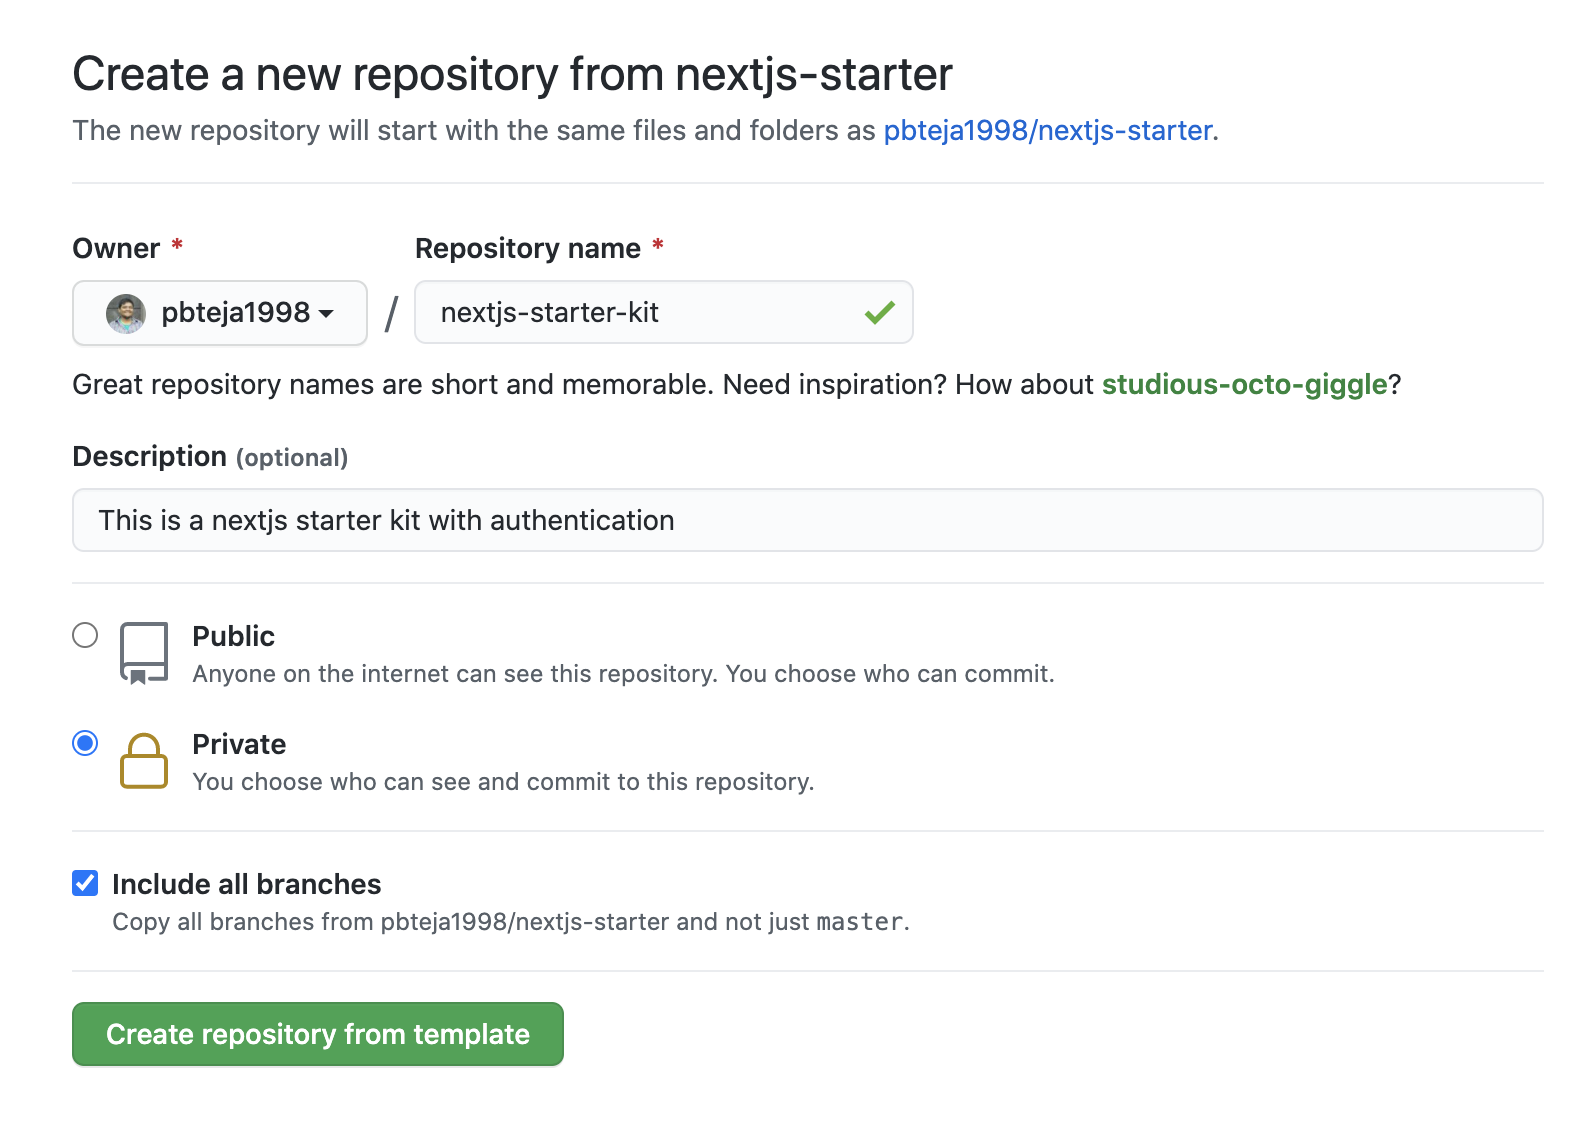
Follow the instructions and create your repo
3. Deploy to Vercel
3.1. Import Project
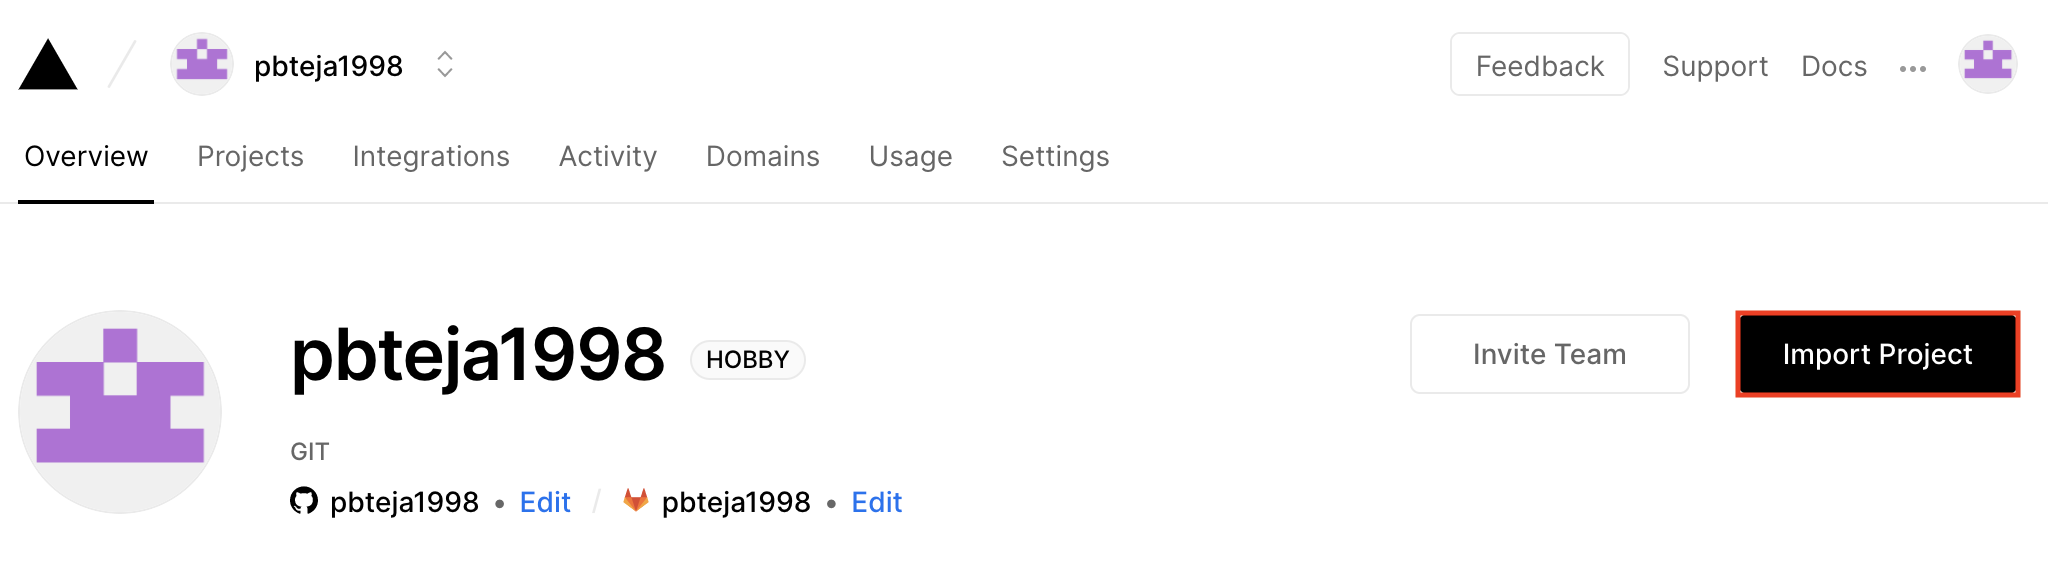
Login to vercel and click on Import Project.
3.2. Import Git Repo
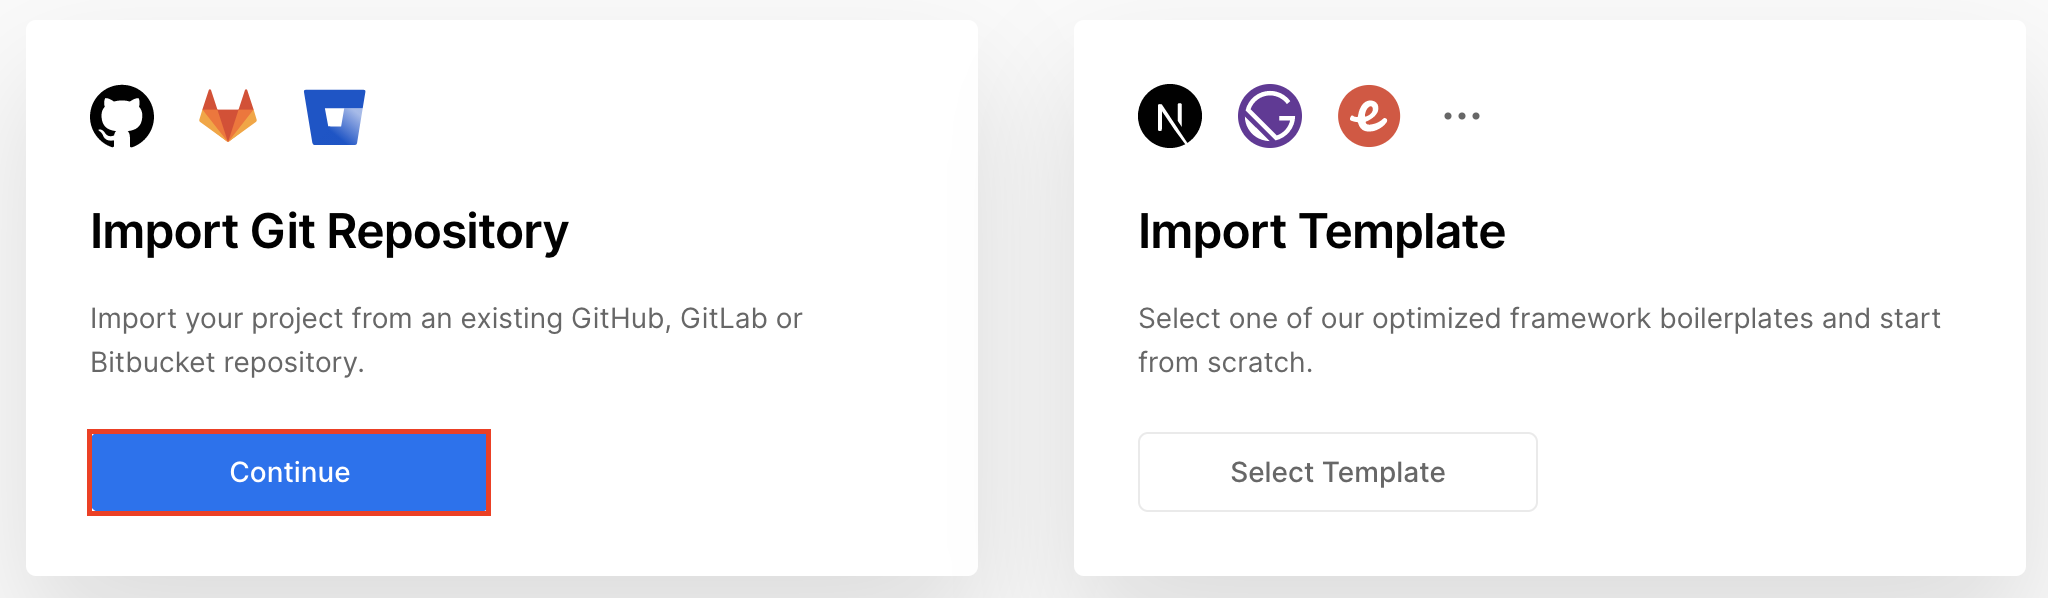
Let's import from Git Repository
3.3.
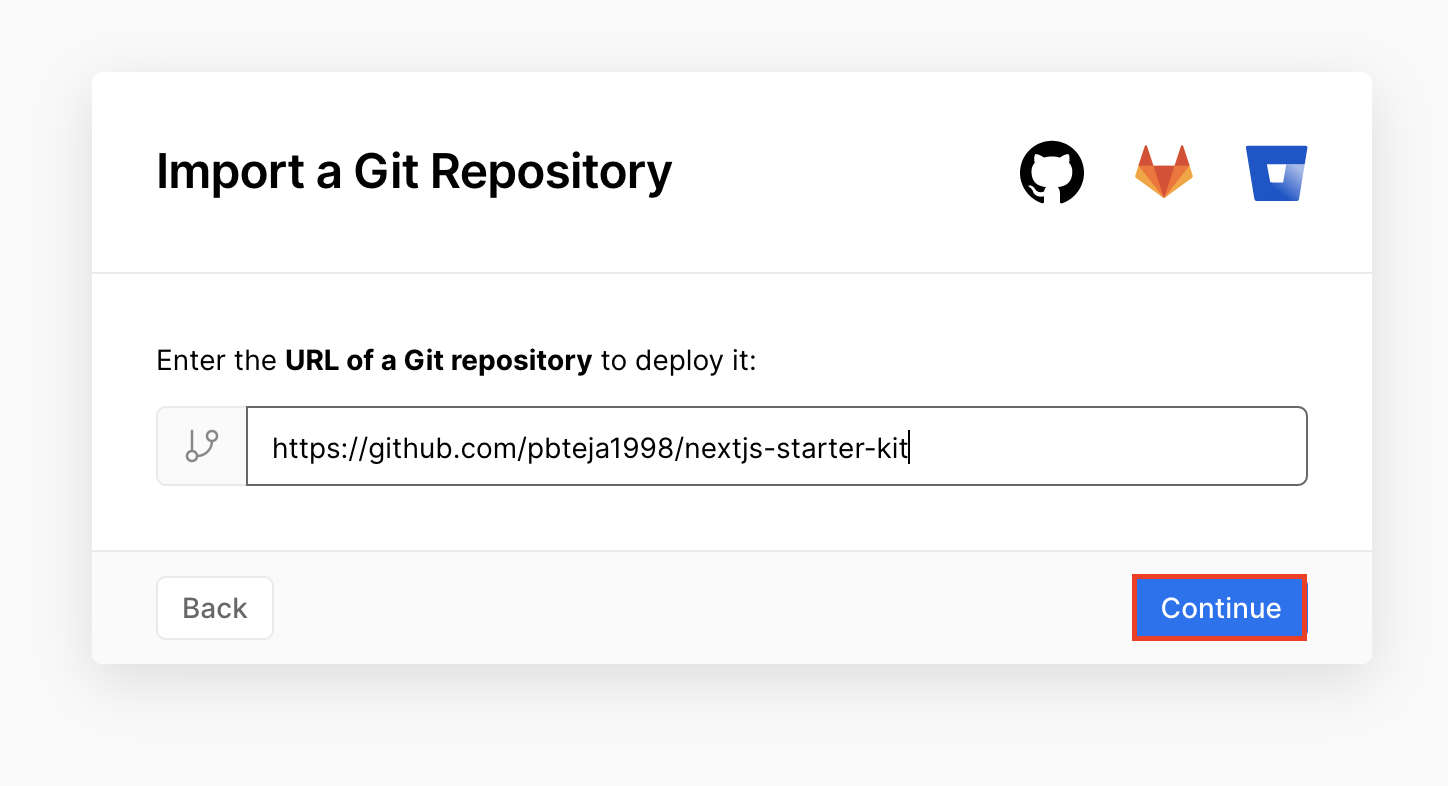
Enter the URL of the repo that you created earlier and Continue.
3.4. Create Vercel Project
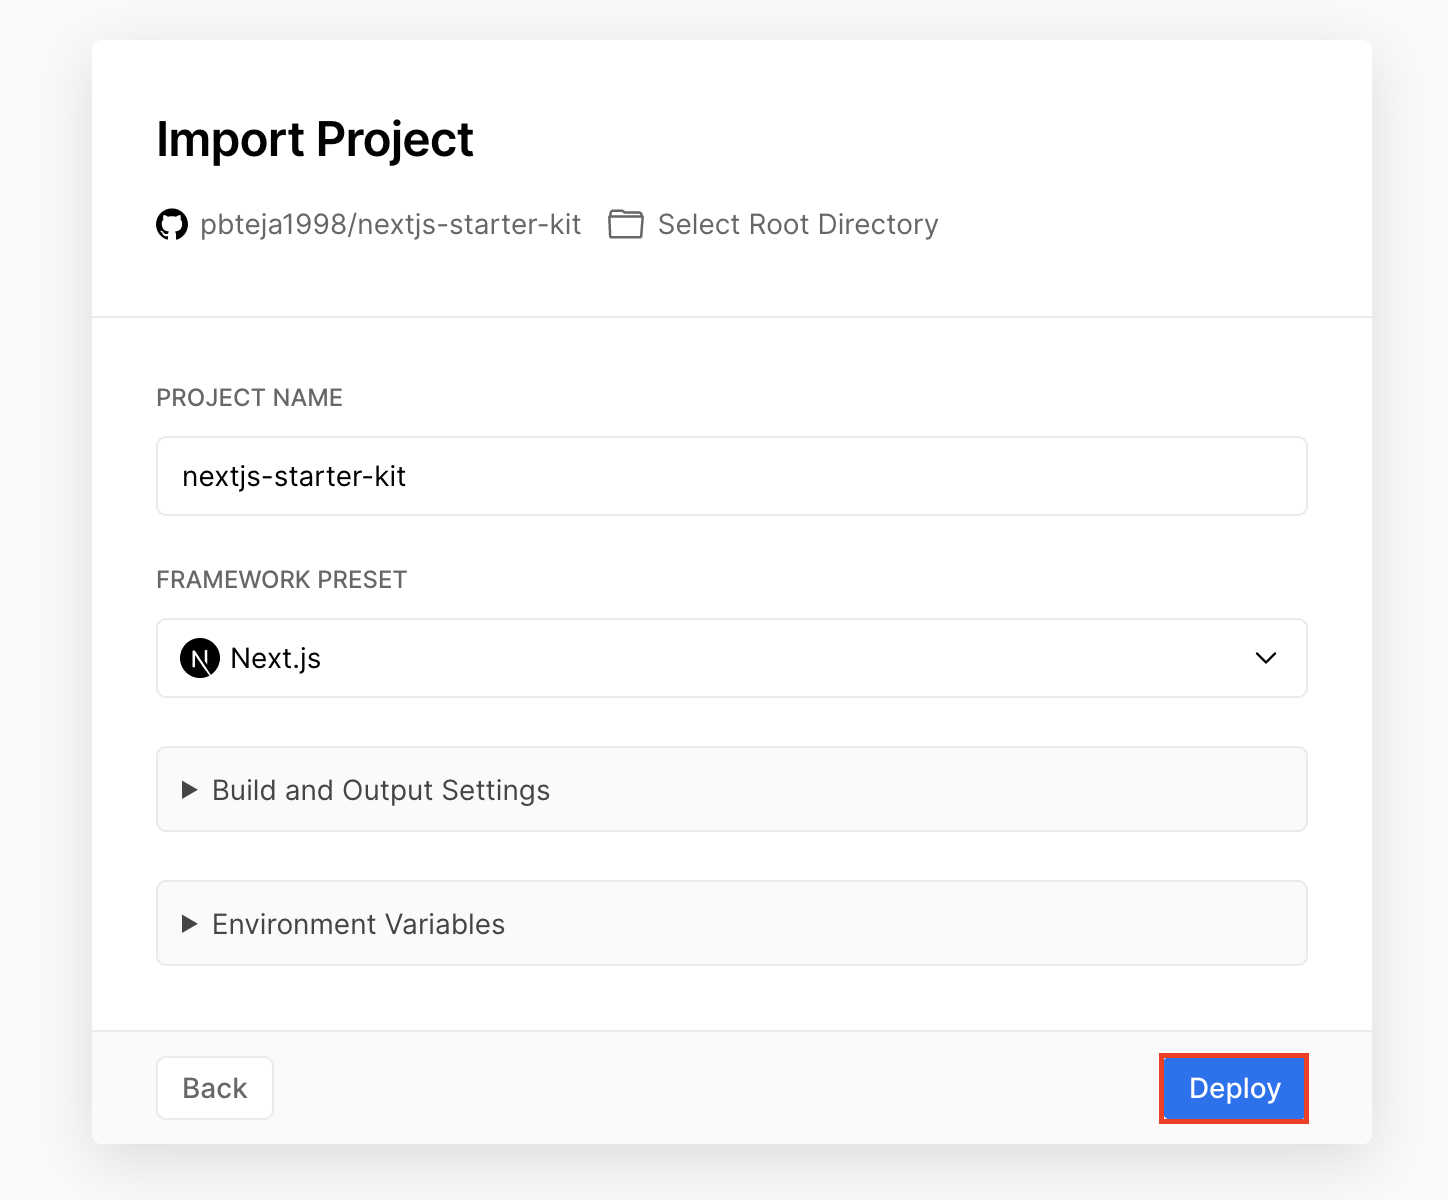
Choose the name of the project and Deploy. We will be adding the required environment variables later.
3.5. Successful Deployment
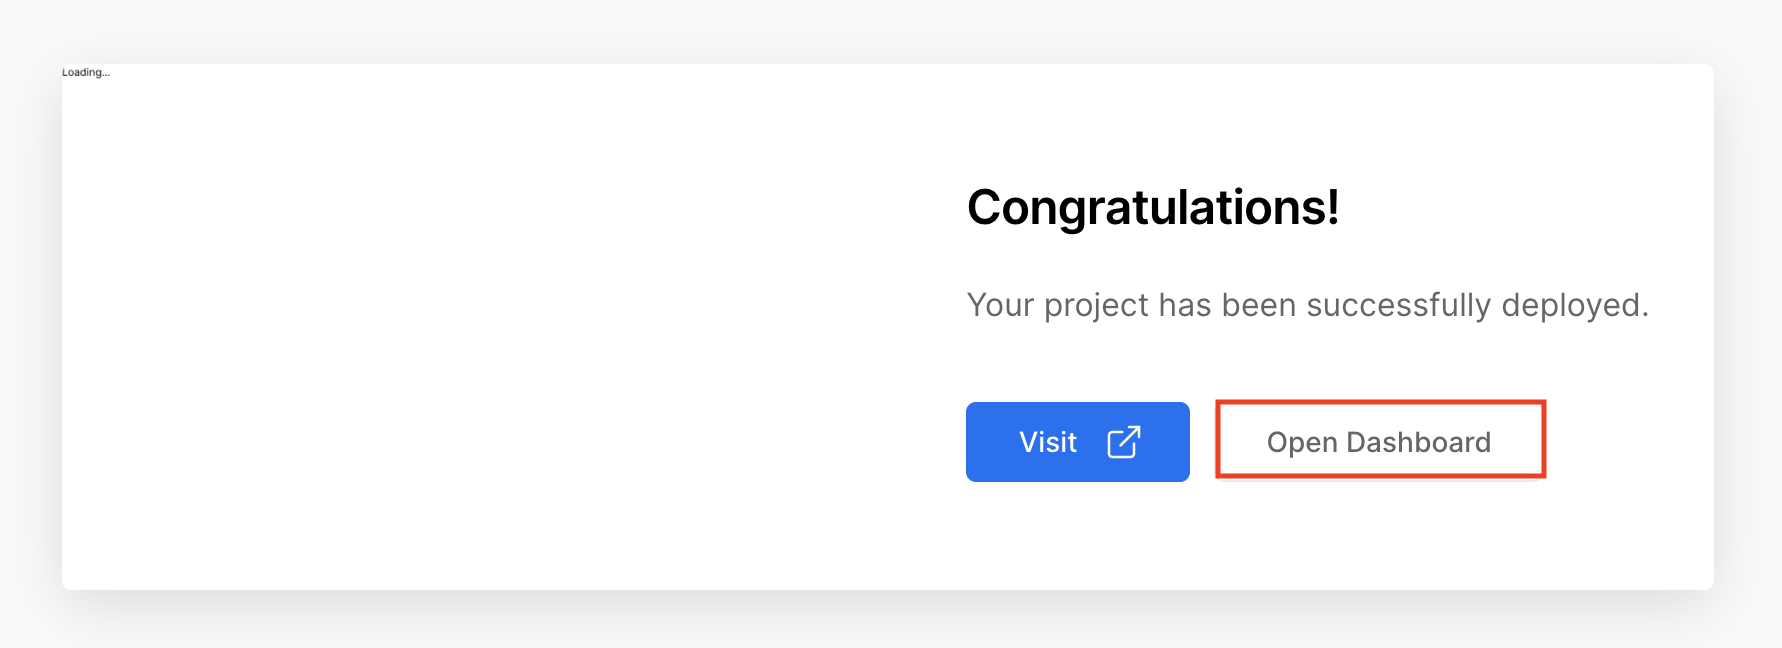
You should see this once deployed. Open the dashboard after a successful deployment.
3.6. Dashboard
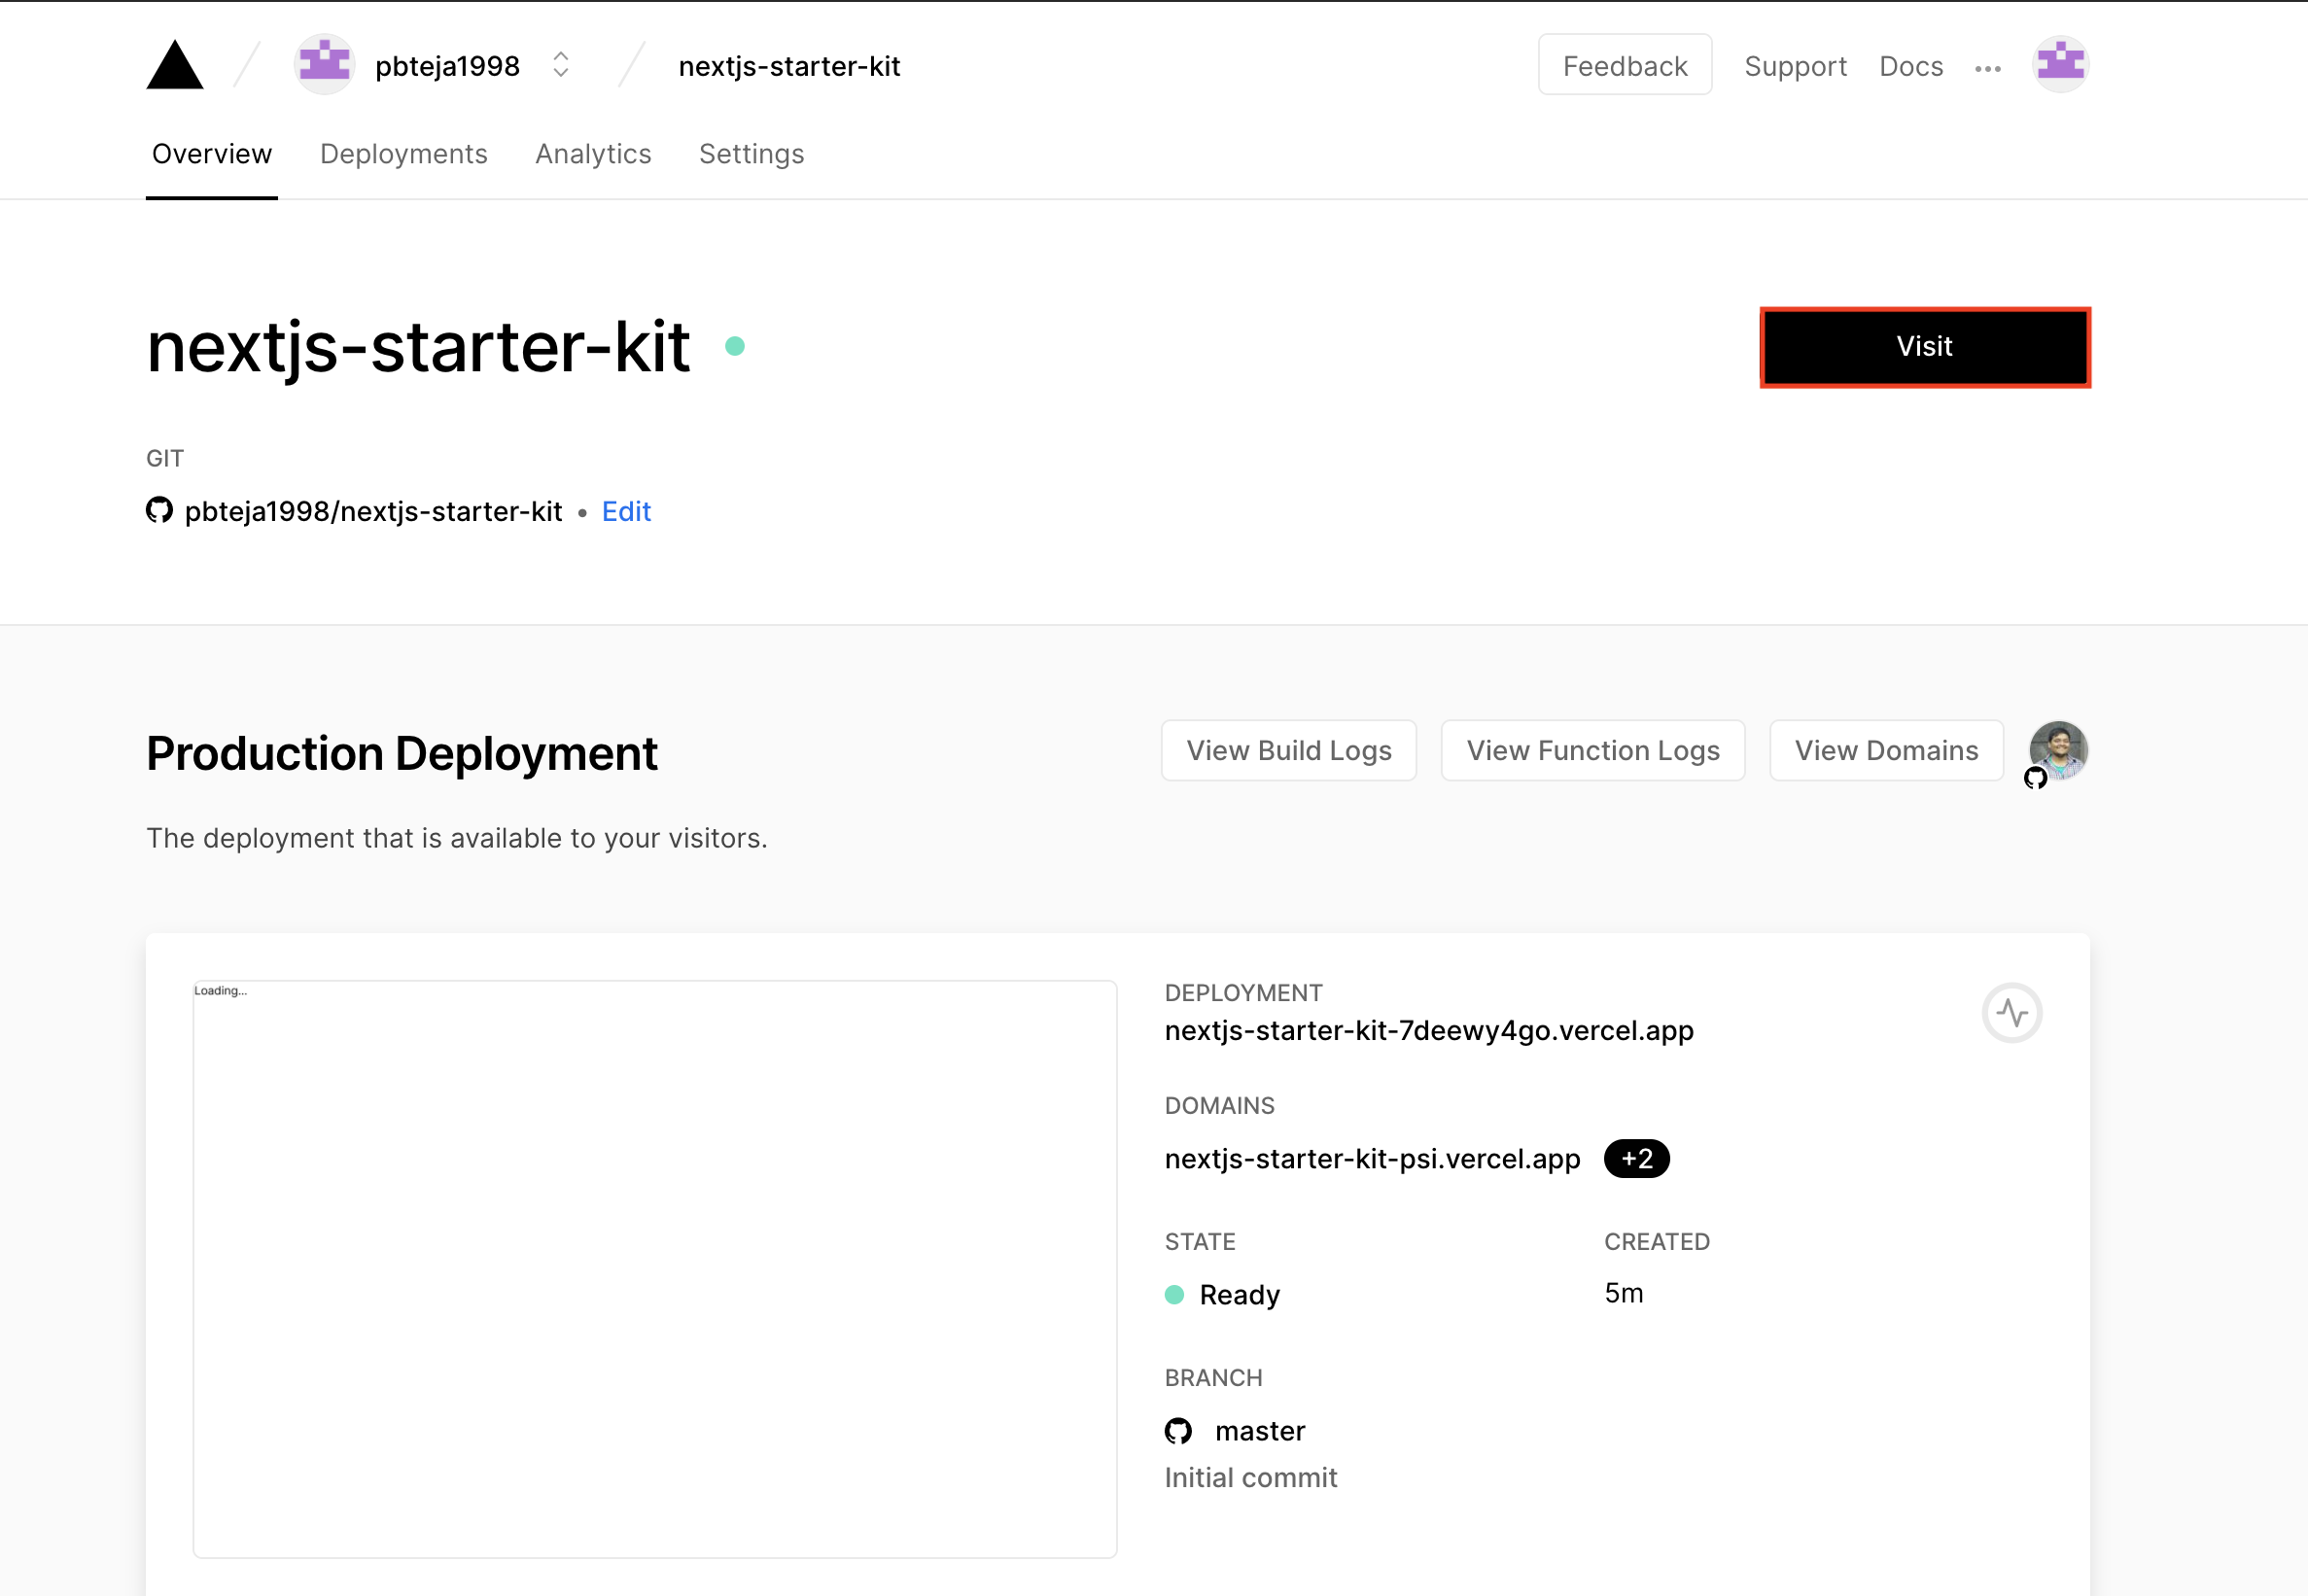
That's it. Your Next.js starter application has been deployed to Vercel. You can click on Visit to open the website.
3.7. Web Application Demo
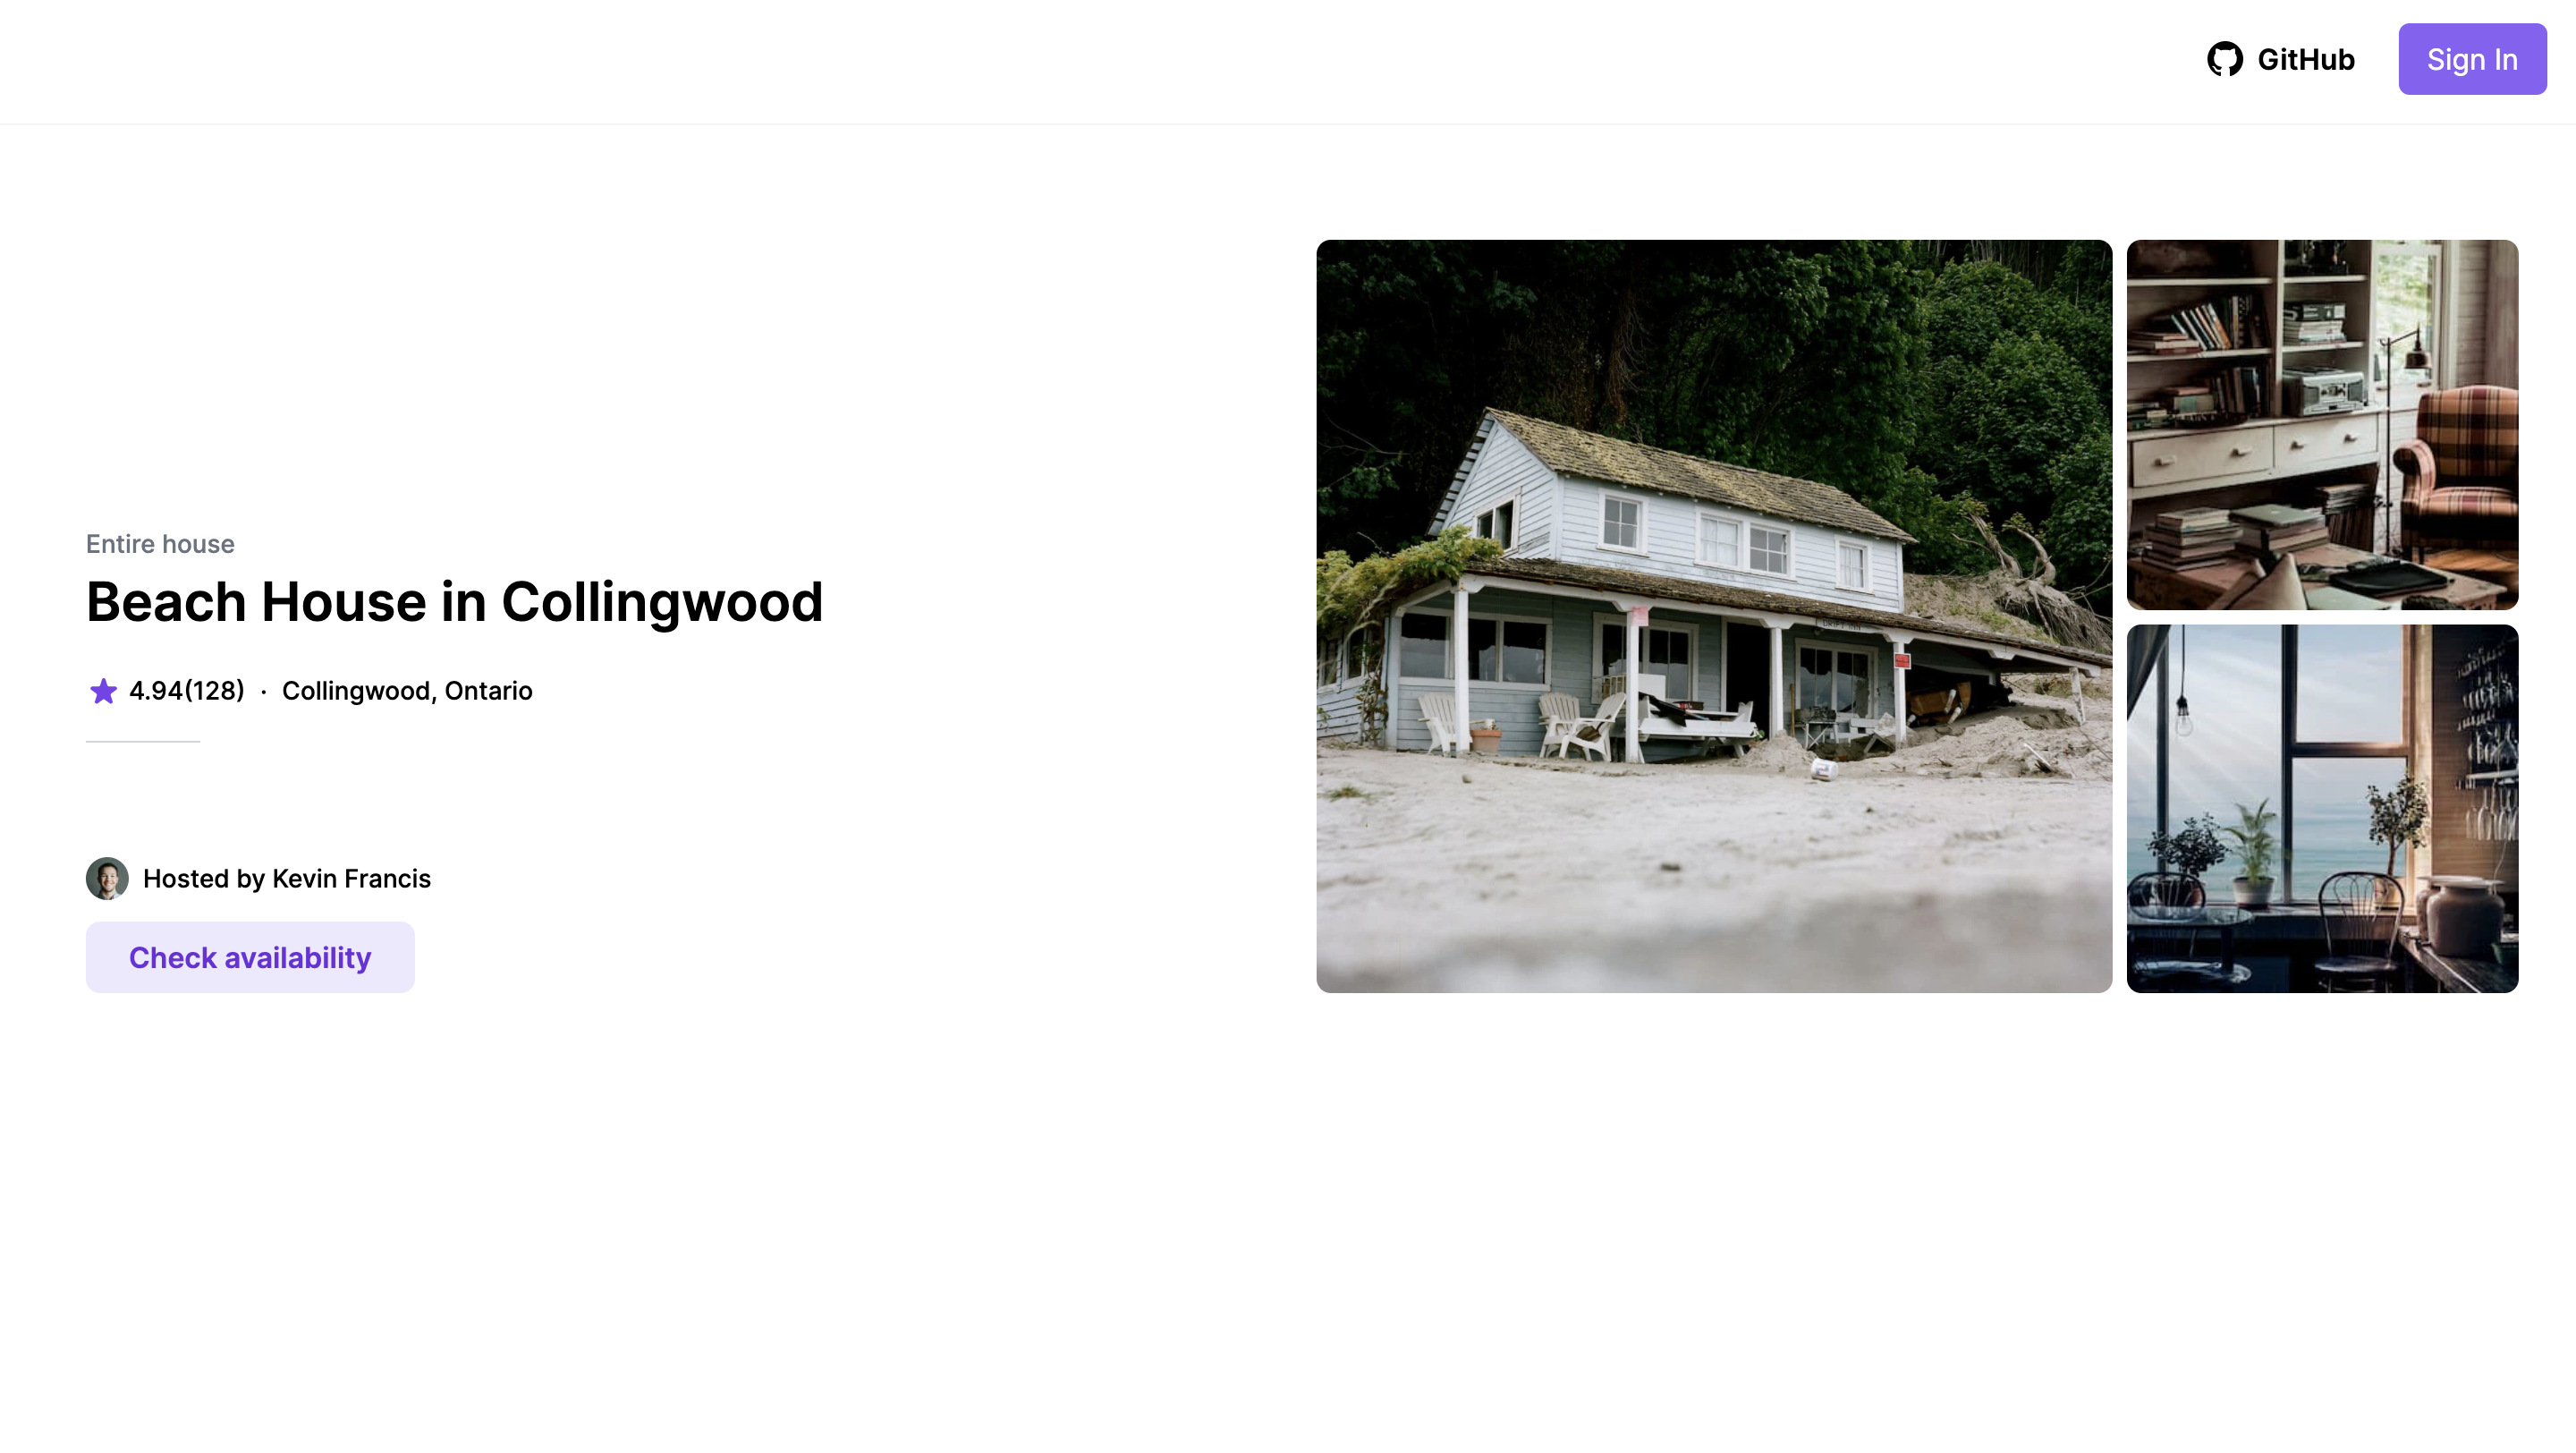
You should see something like this. This home page template is taken from one of the examples in tailwindcss.com
4. Create a database
We need a database to store users and user sessions. I will be using the Postgres database. But you can use whatever you want. If you already have a URL for your database, you can skip this step. I will be using Heroku to create a Postgres database.
4.1. Create a new Heroku app

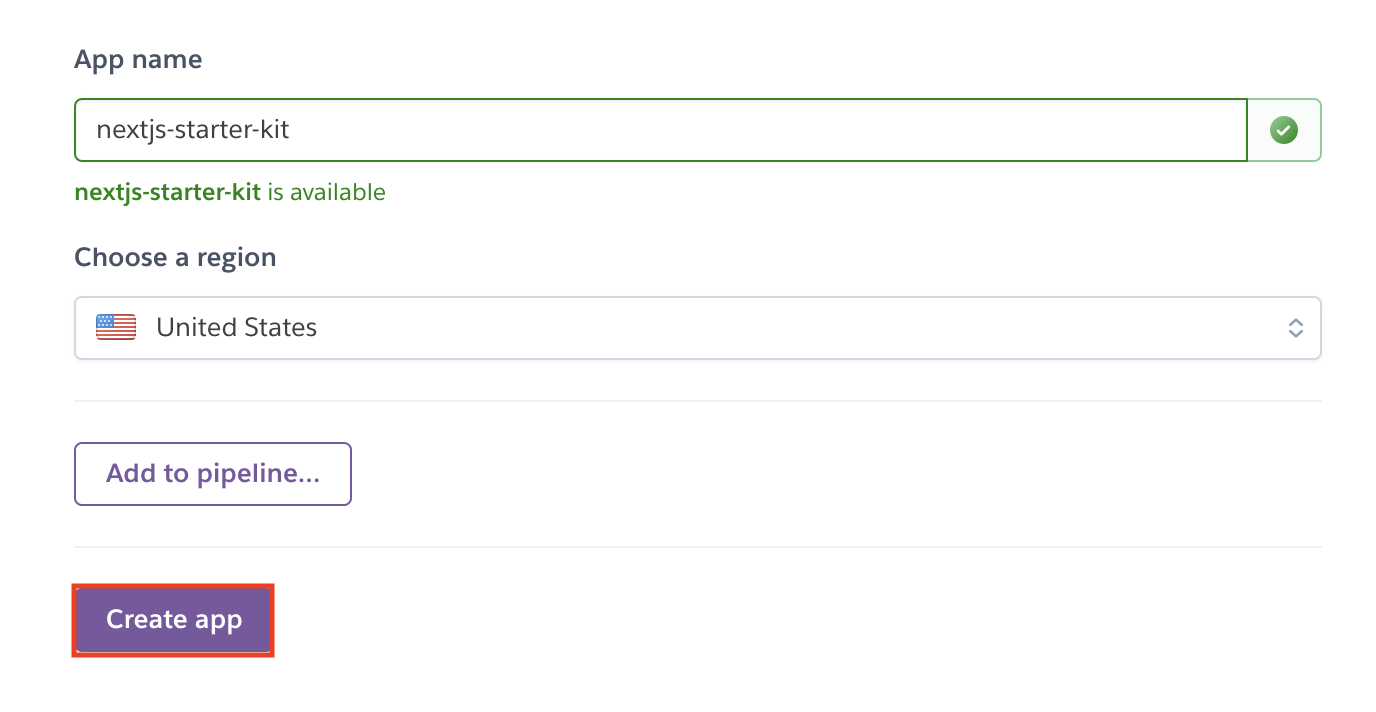
4.2. Go to Resources Tab and add Heroku Postgres addon
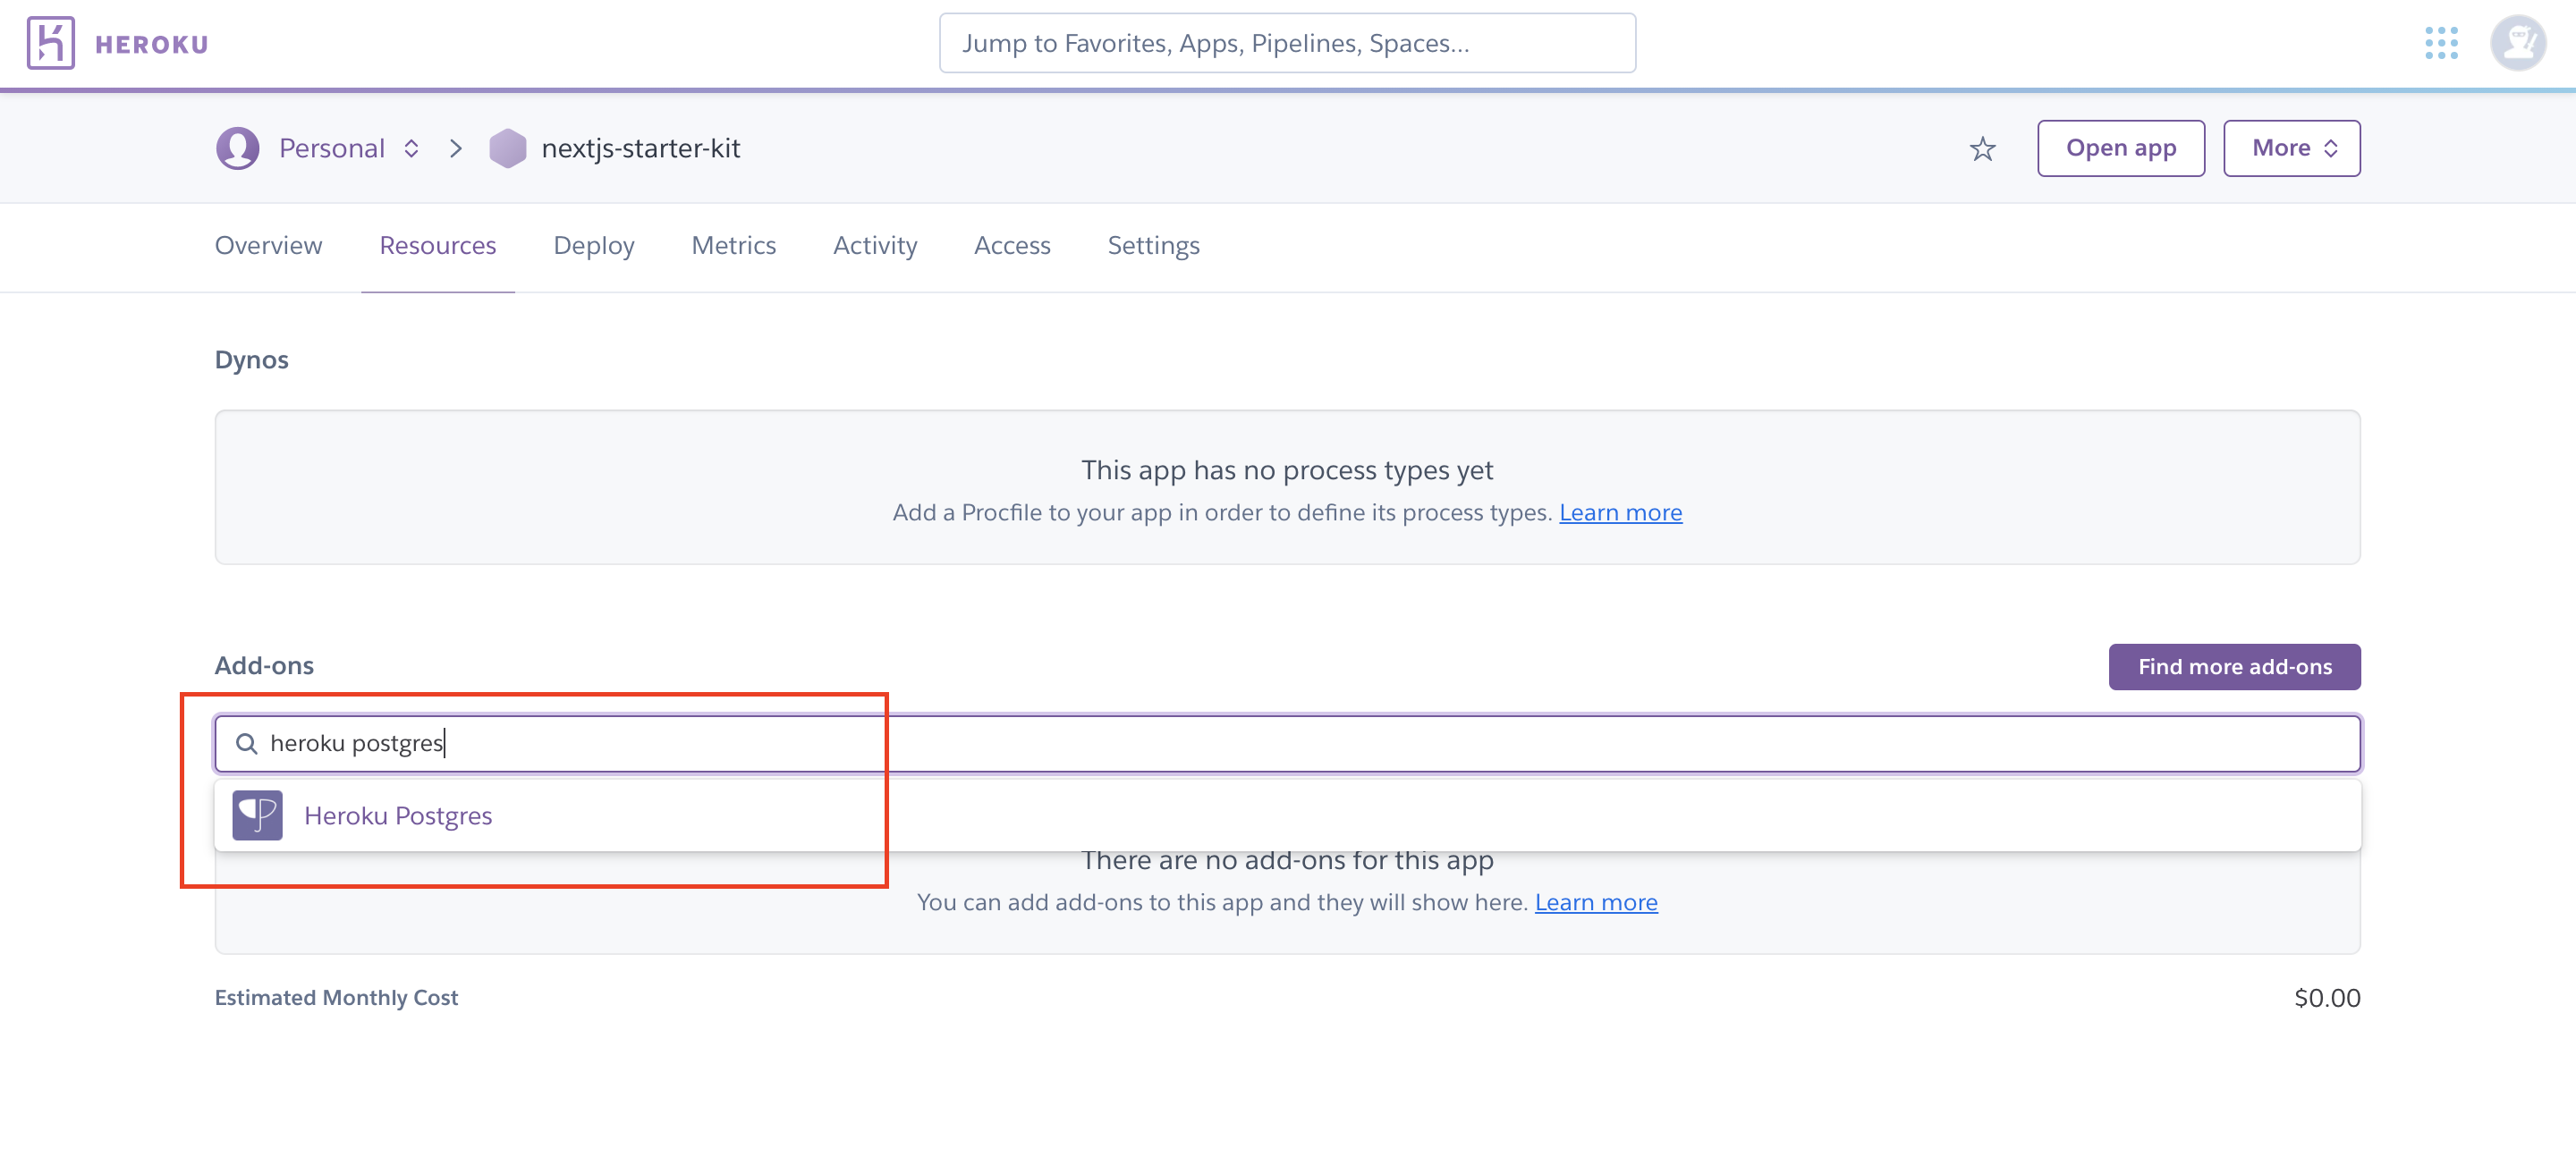
4.3.
Heroku Postgres has a free tier available. I will be using that for the demonstration.
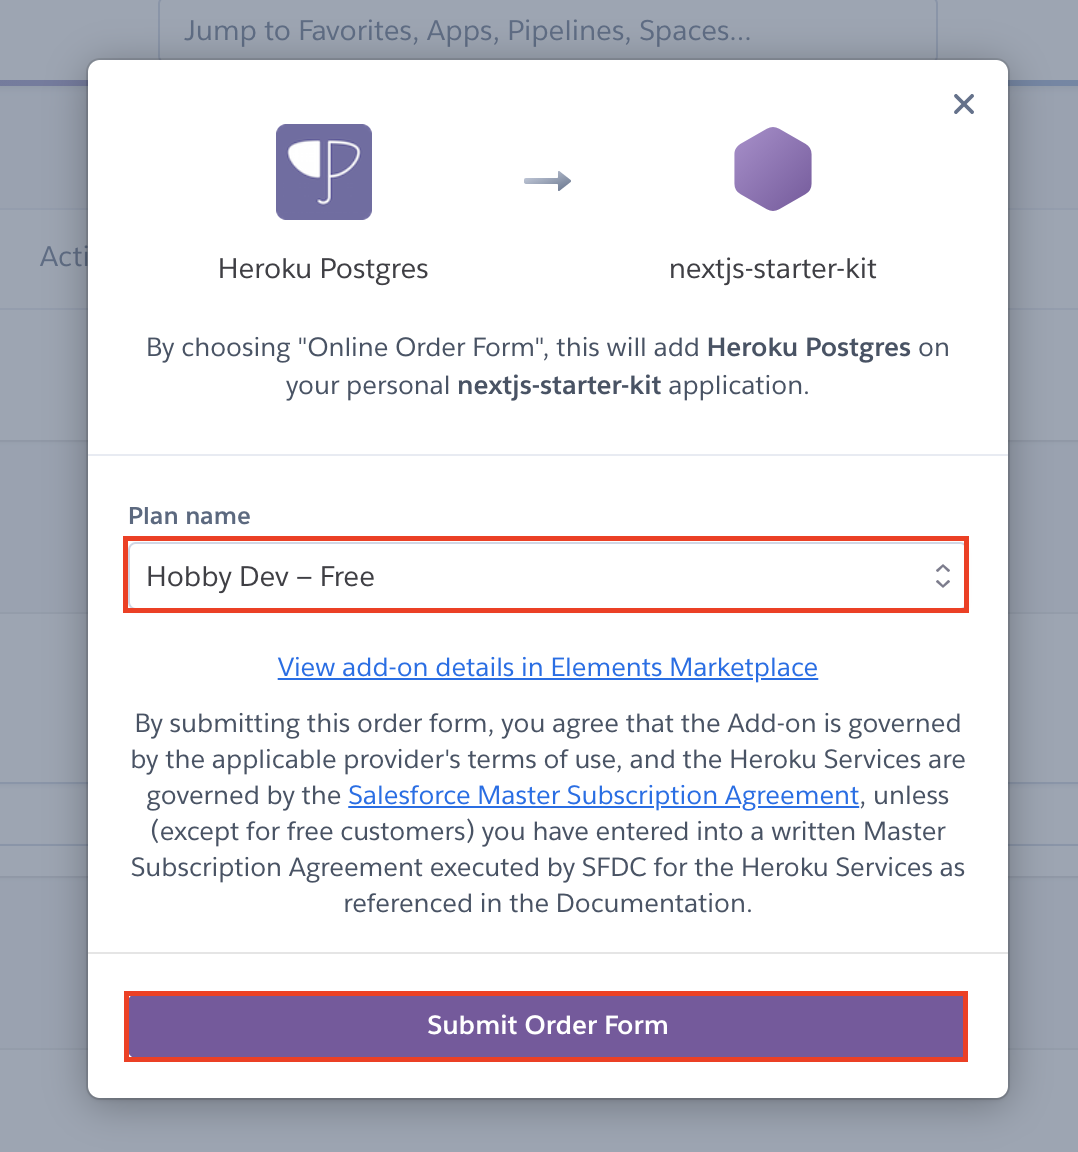
4.4. You now have a new Postgres DB created. Click on the addon to open the database dashboard
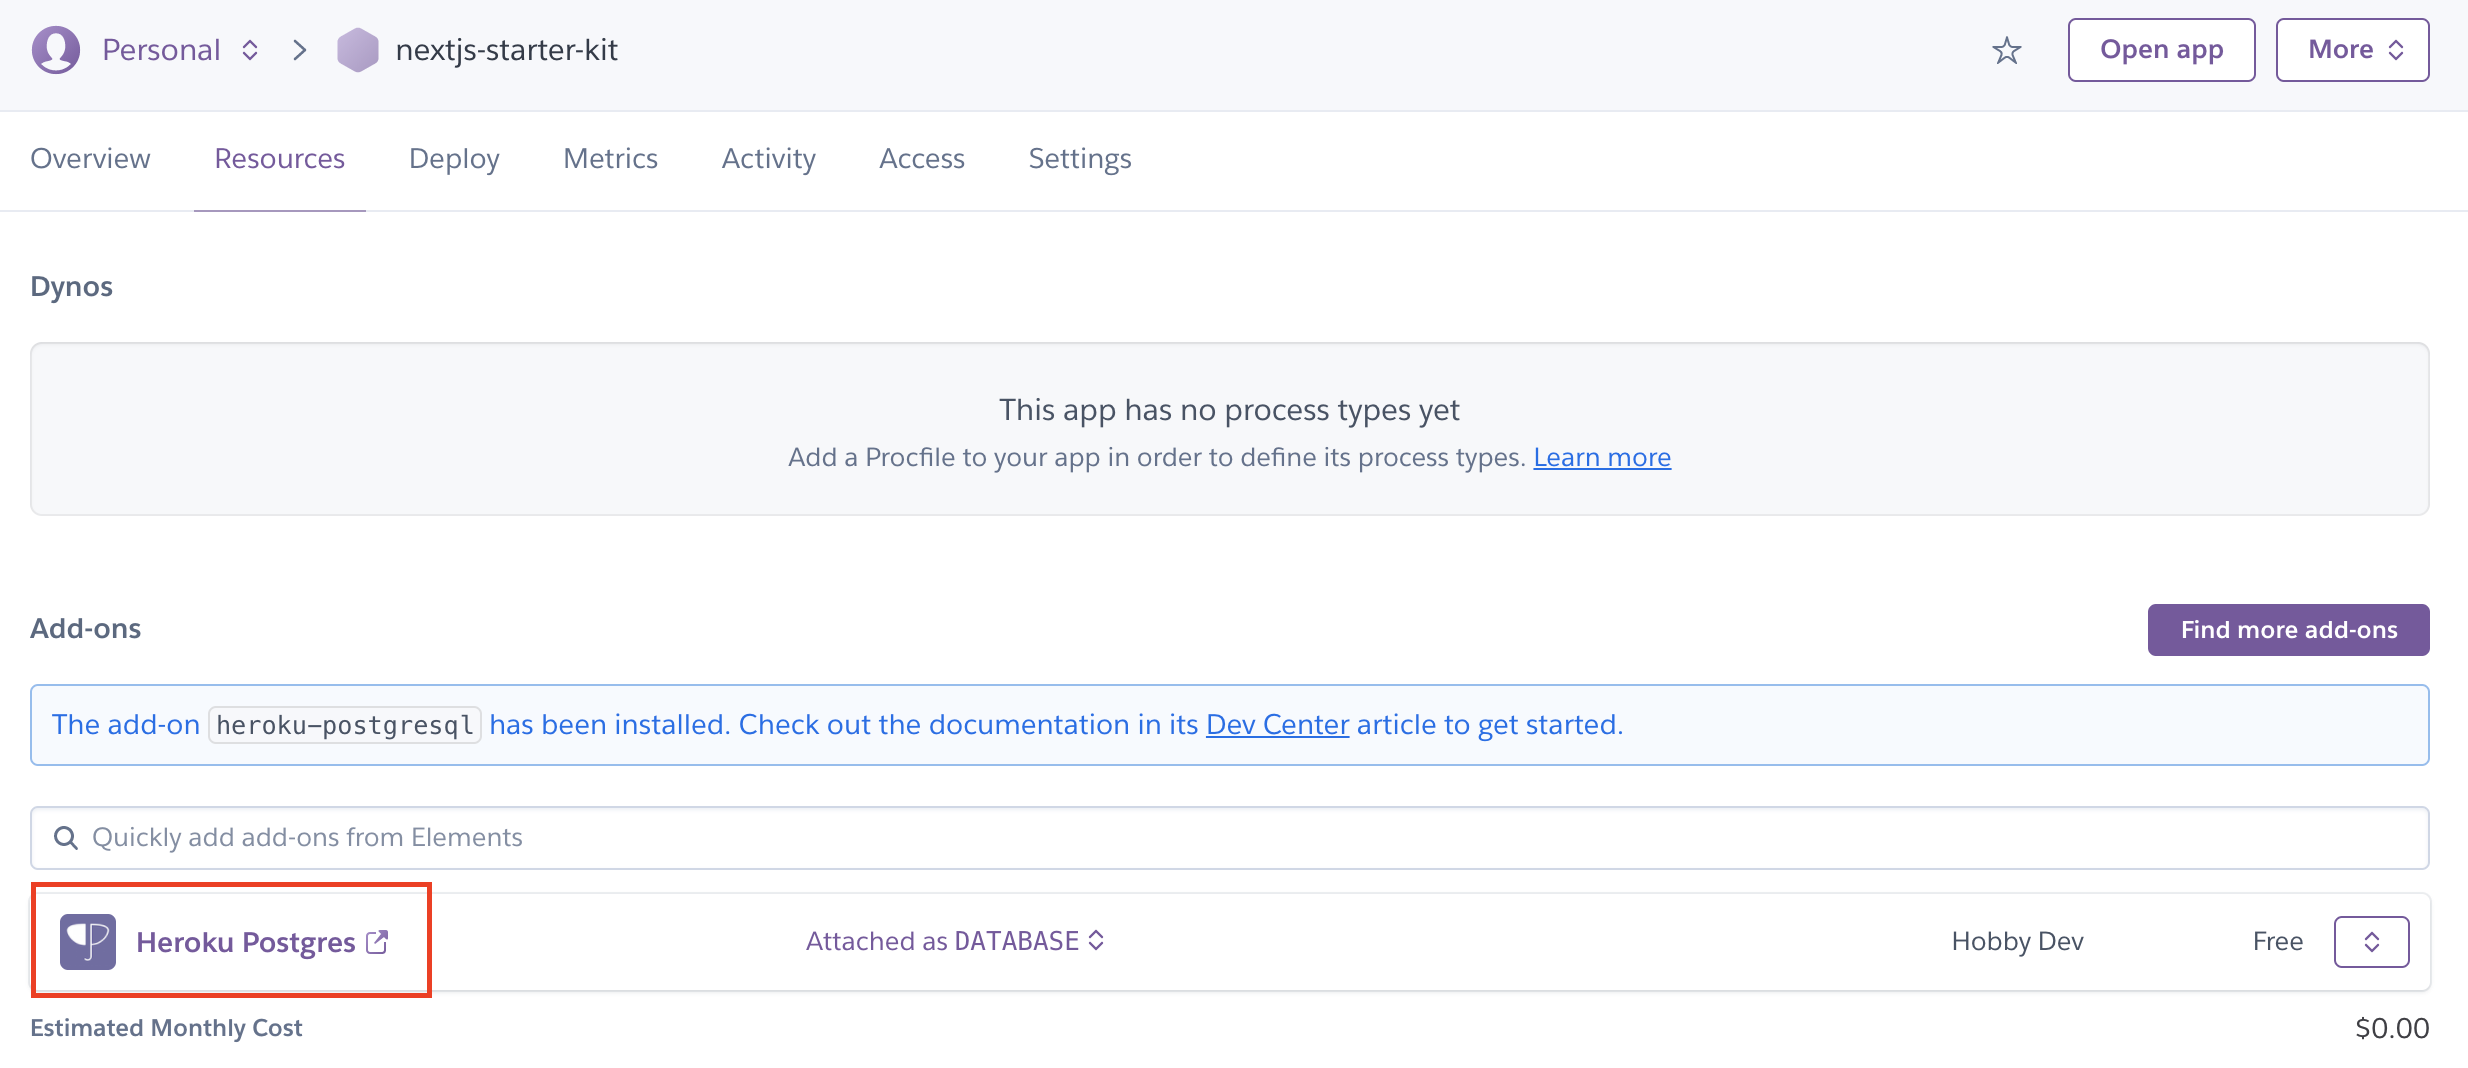
4.5. View Credentials
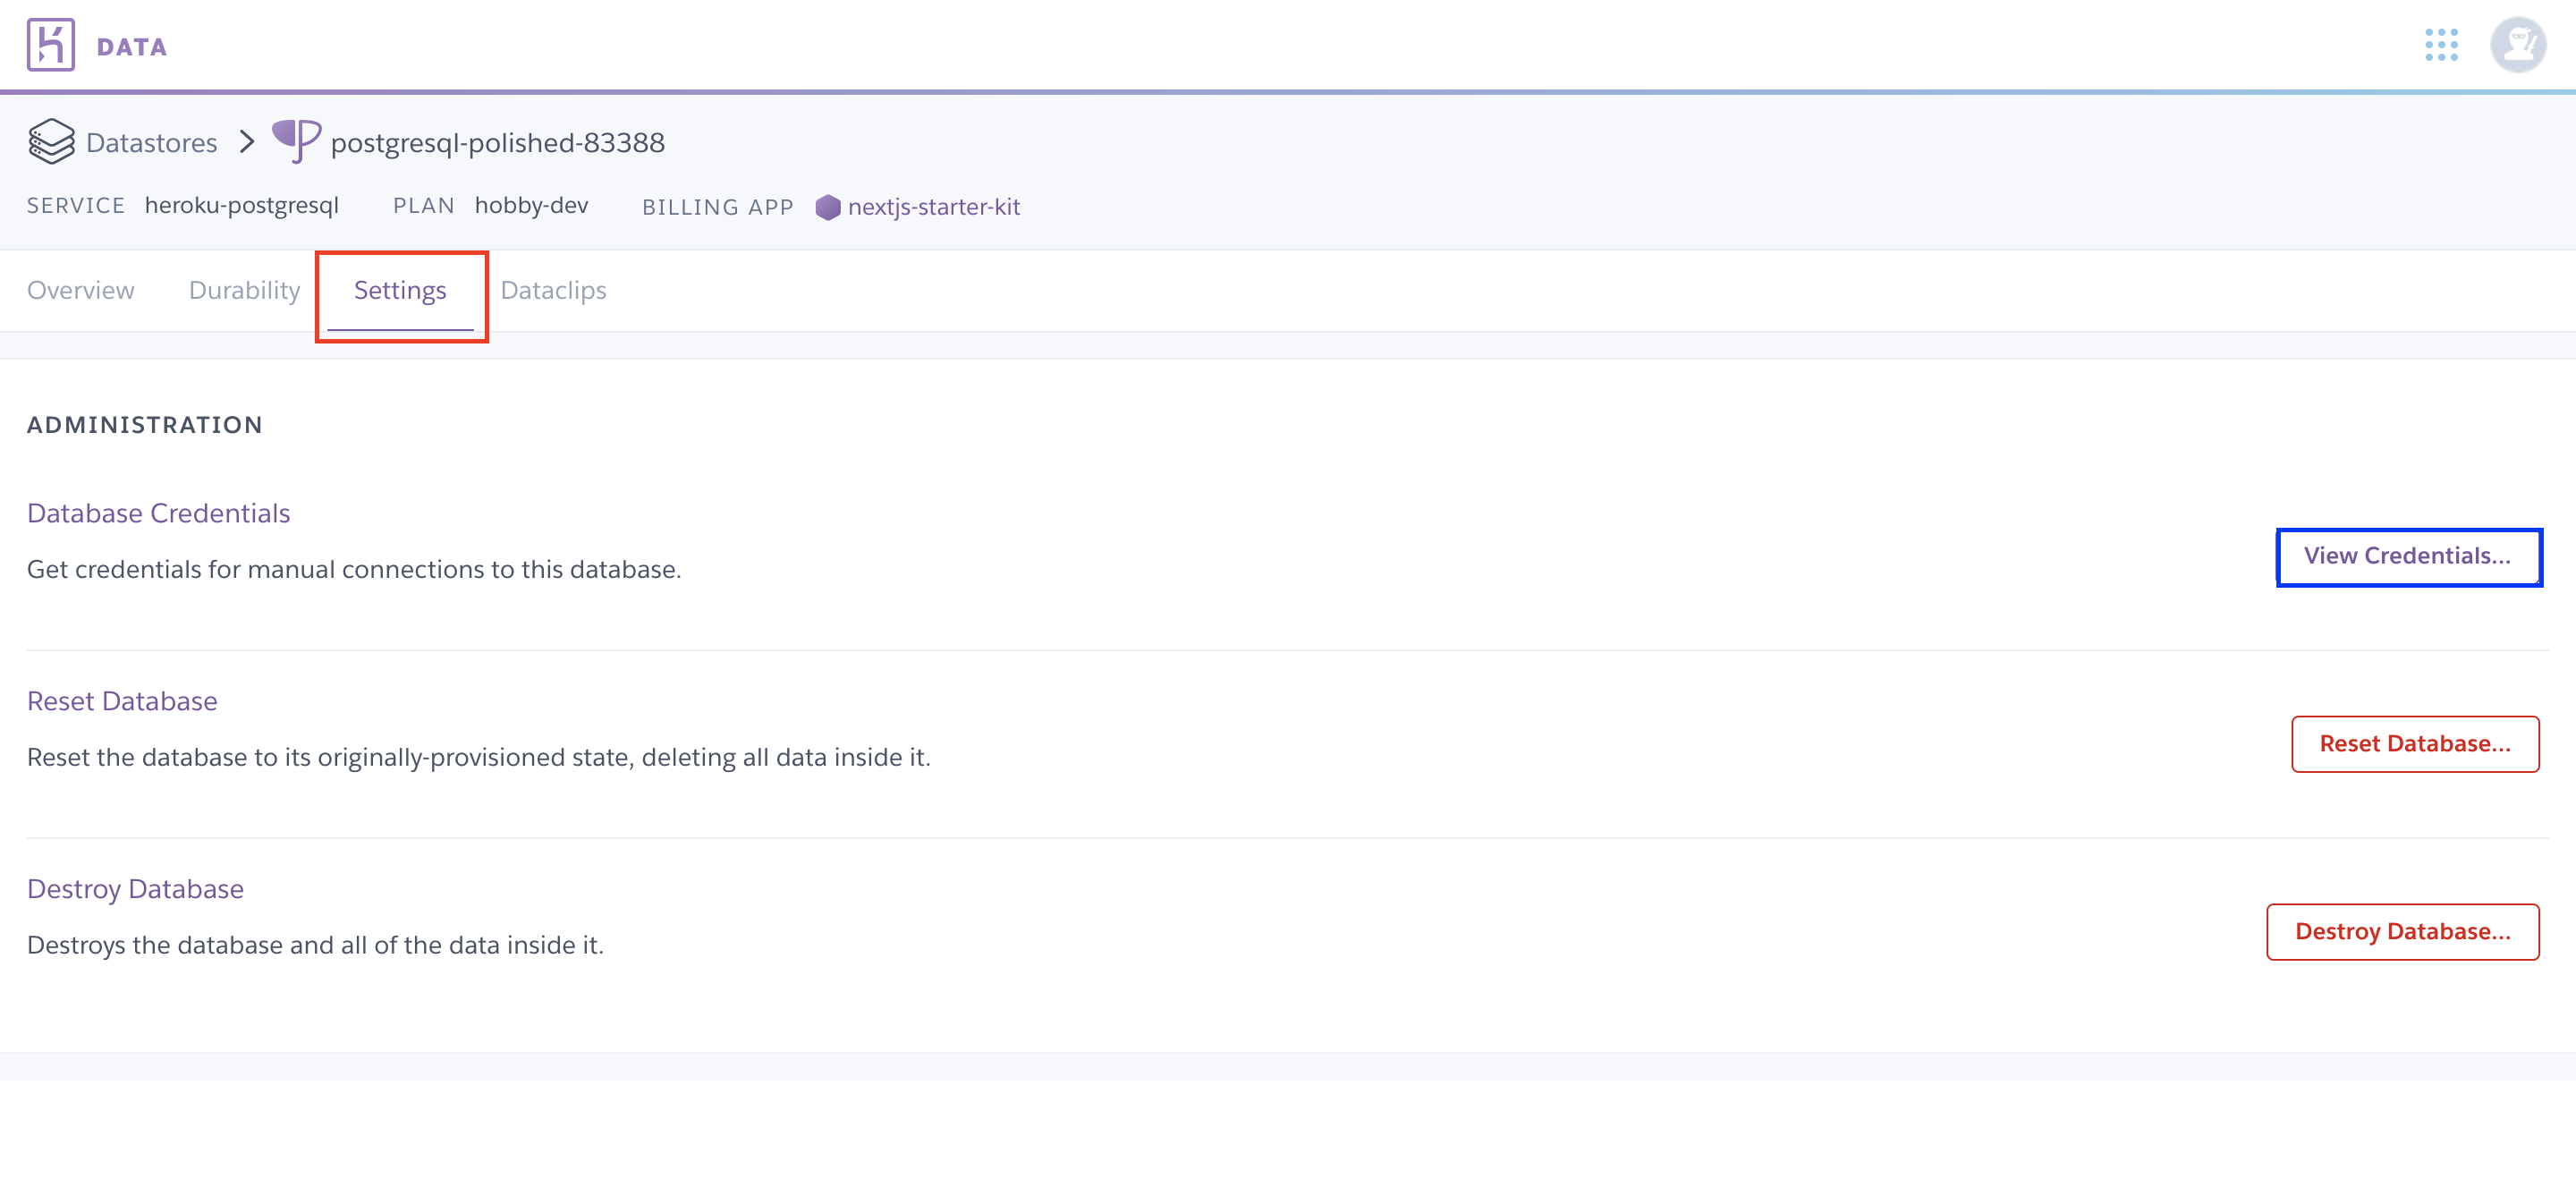
Click on Settings and then View Credentials.
4.6. Copy Database URI
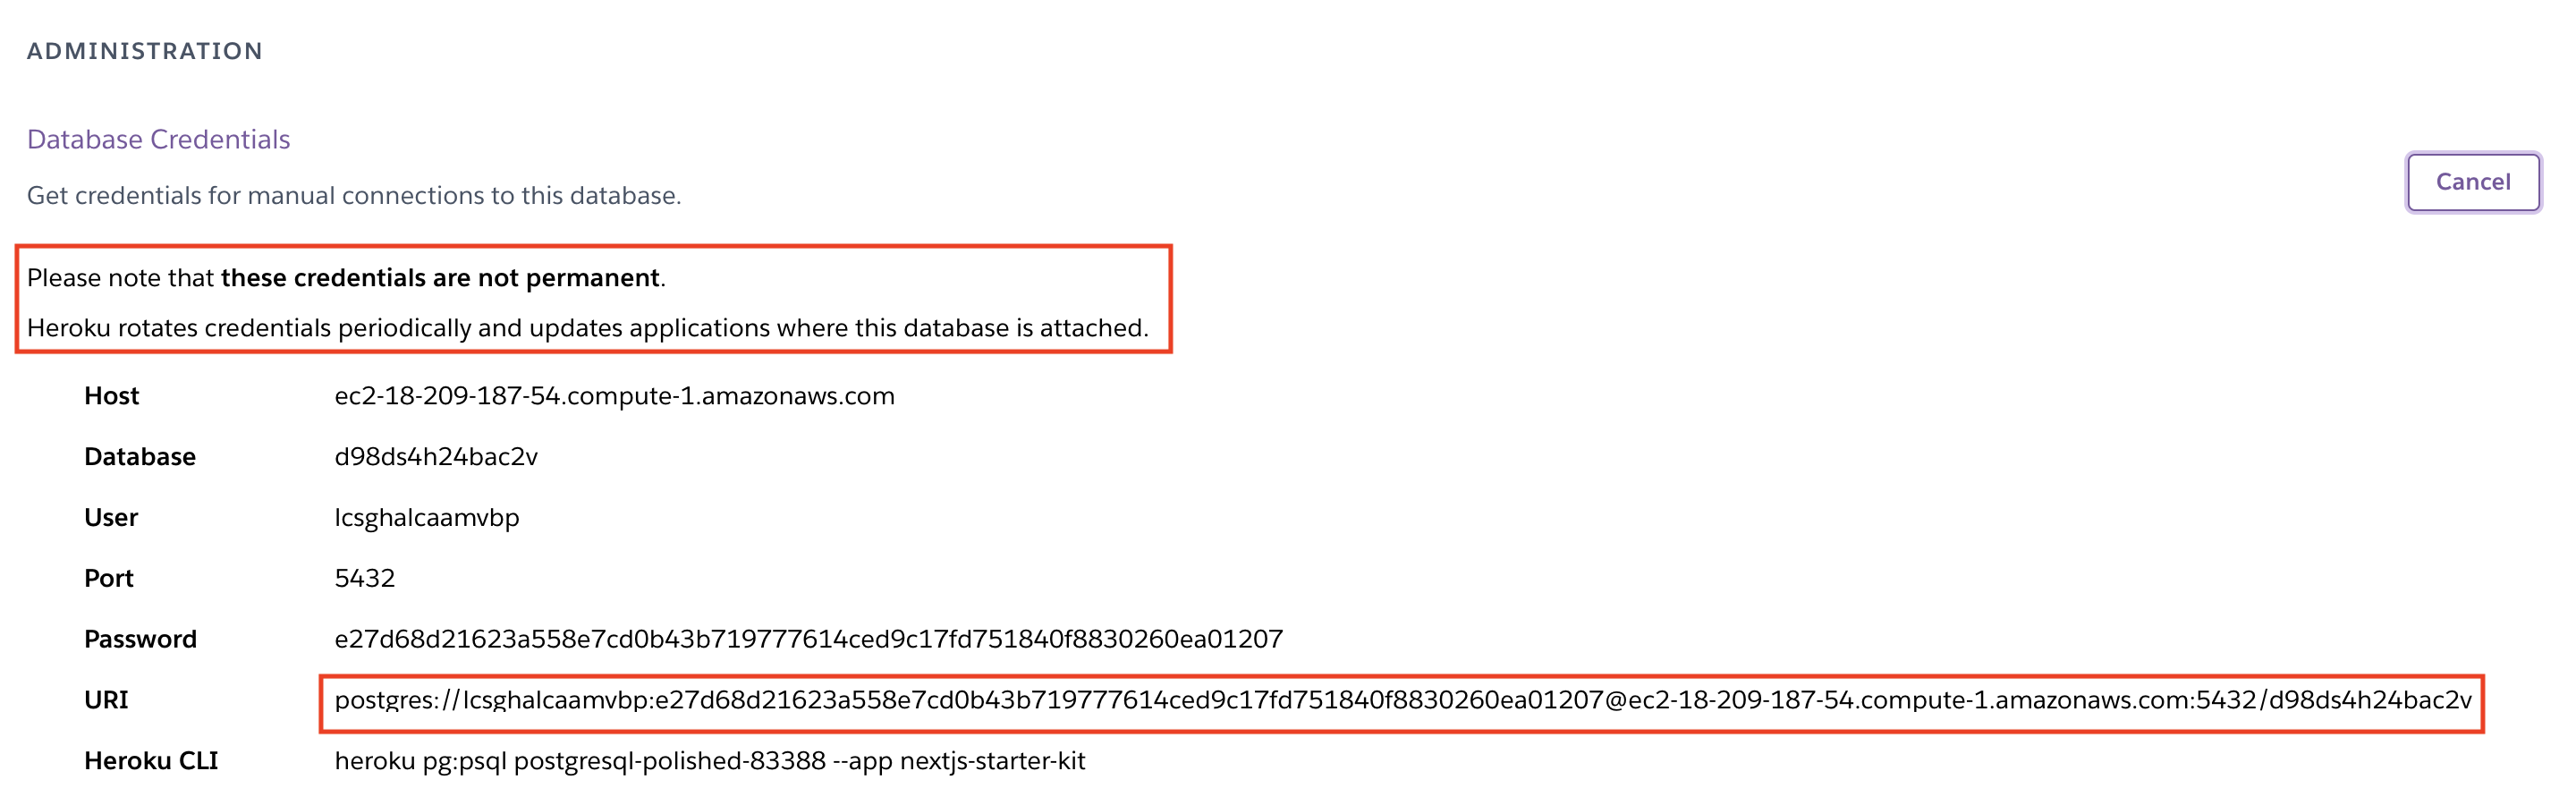
You should be able to see the database URI now. Copy that we will be using it later. Also, note that the free tier Heroku database credentials are not permanent. They change periodically. So, when you are deploying for production, use some other database that is stable or upgrade your Heroku database to a paid plan.
5. Setup Environment Variables
5.1. Open Env Vars dashboard in your newly created Vercel project
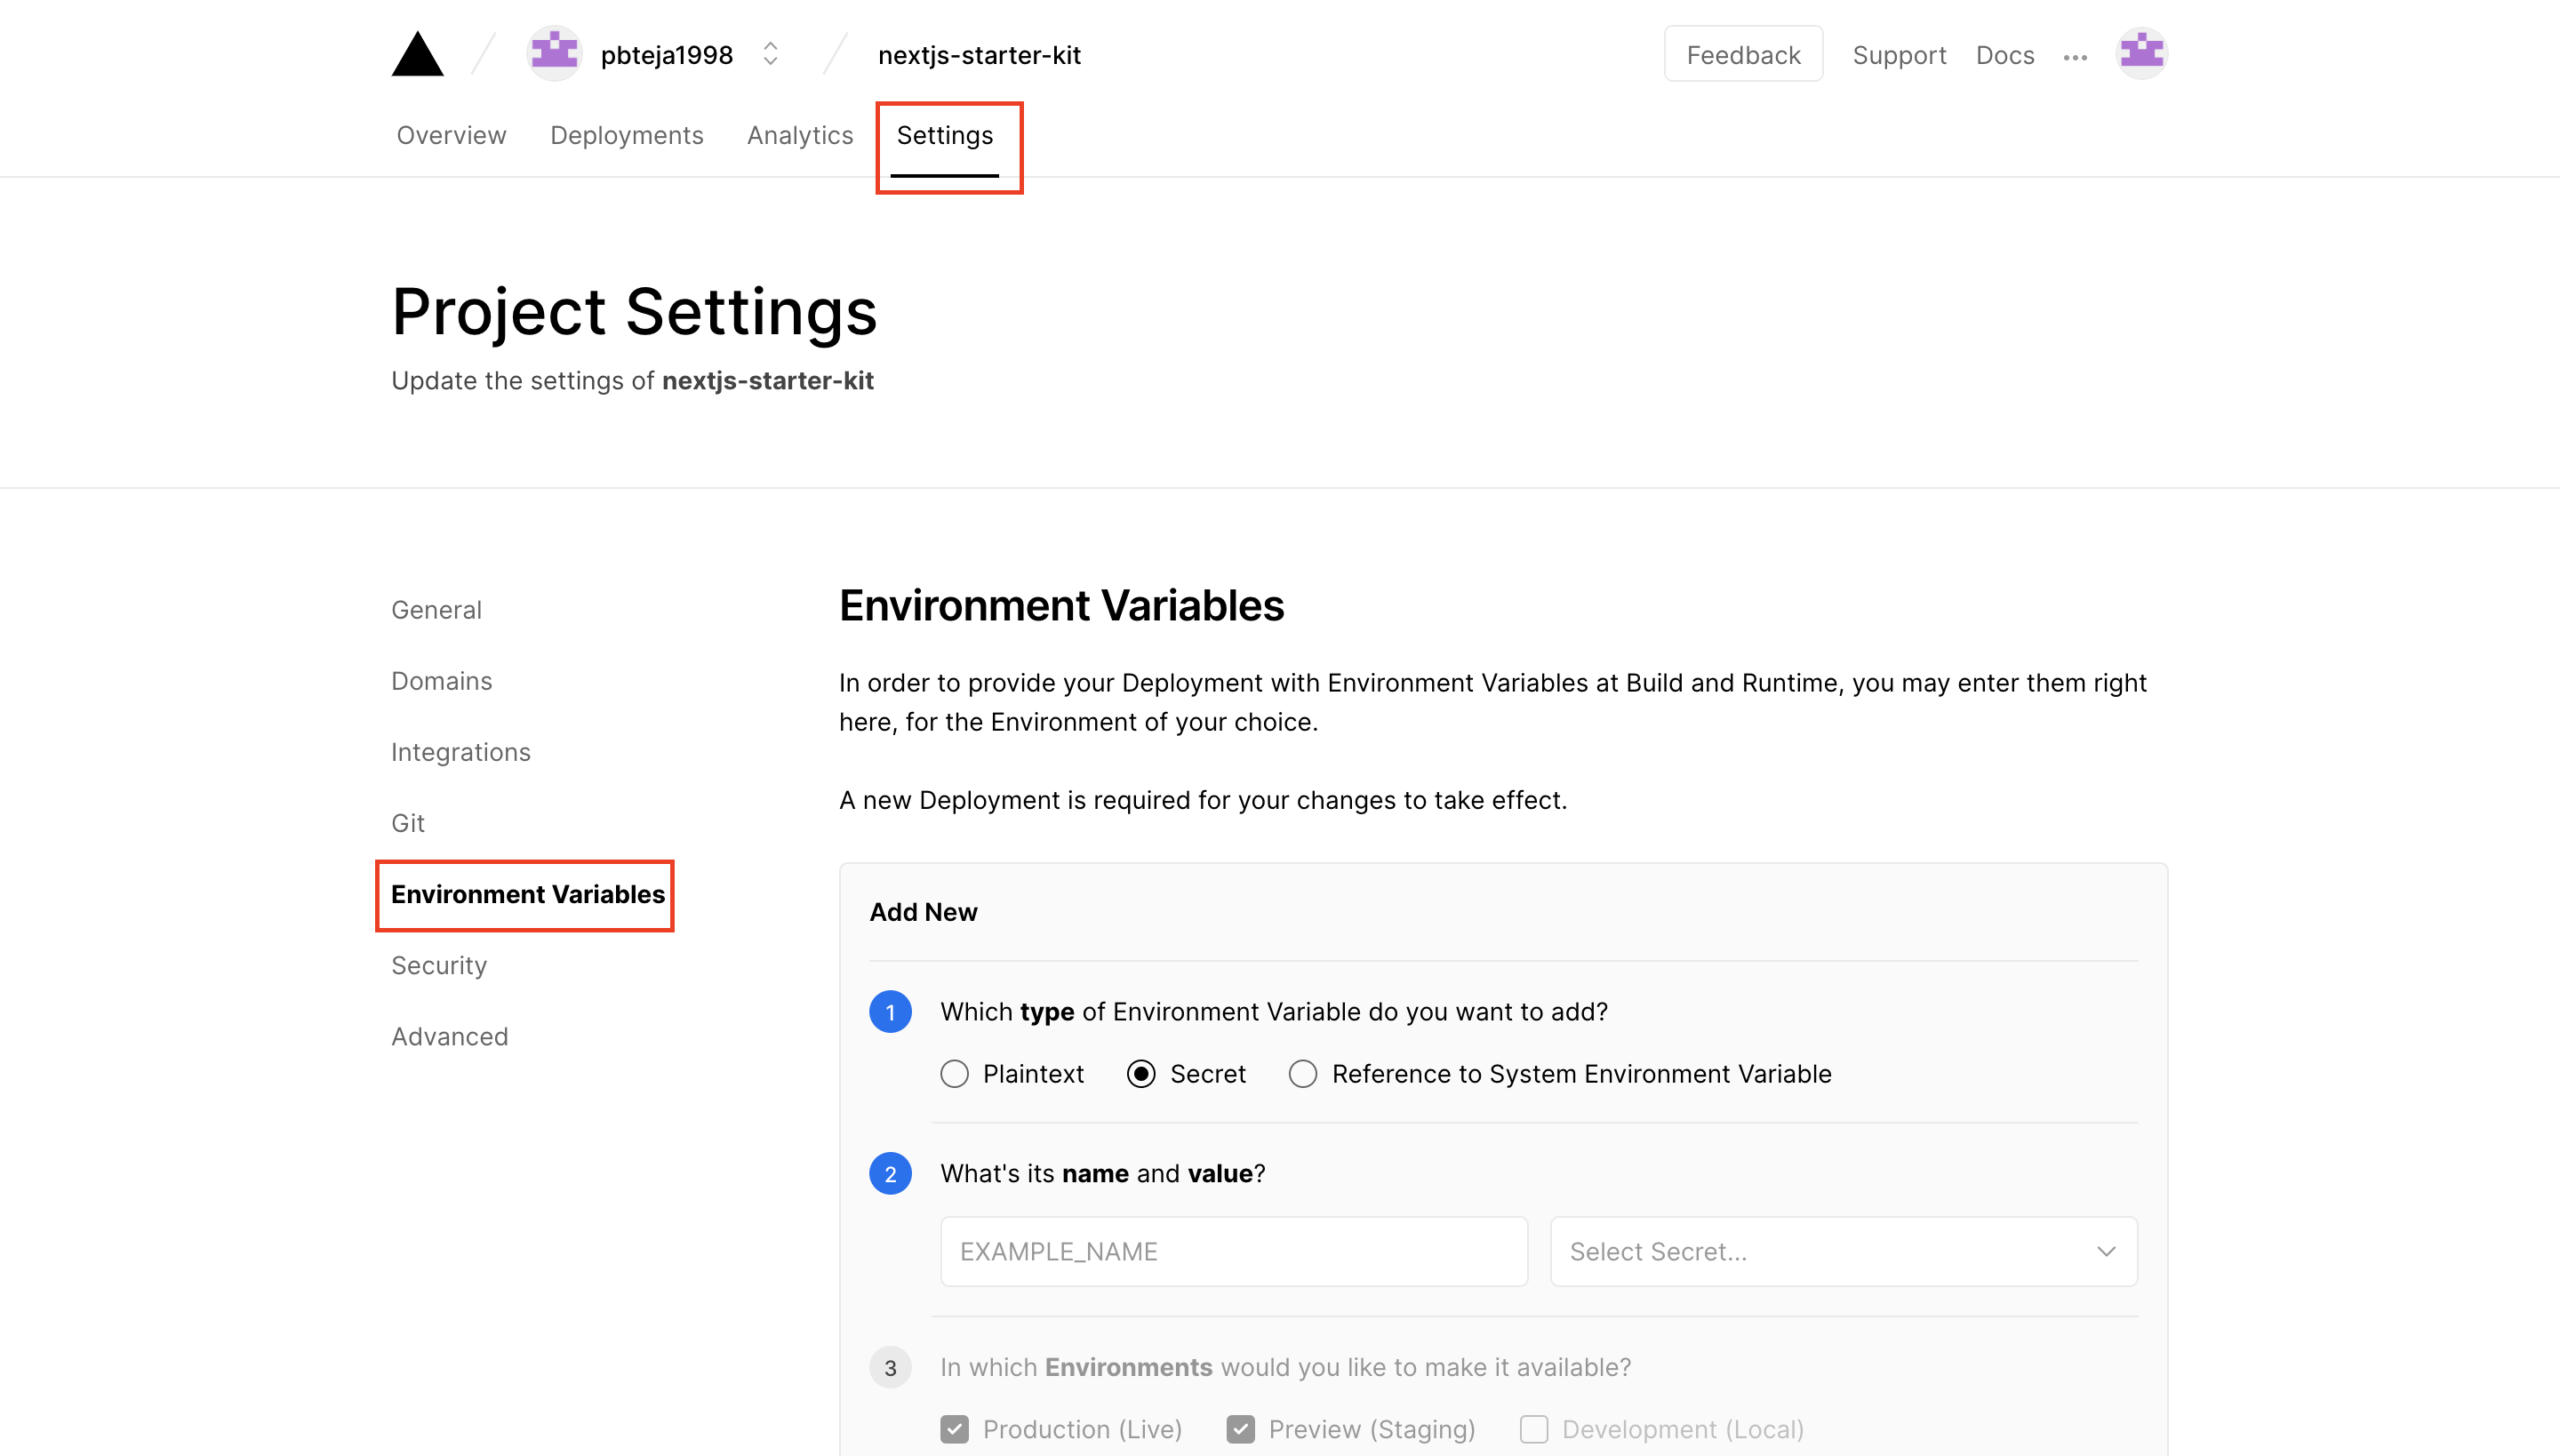
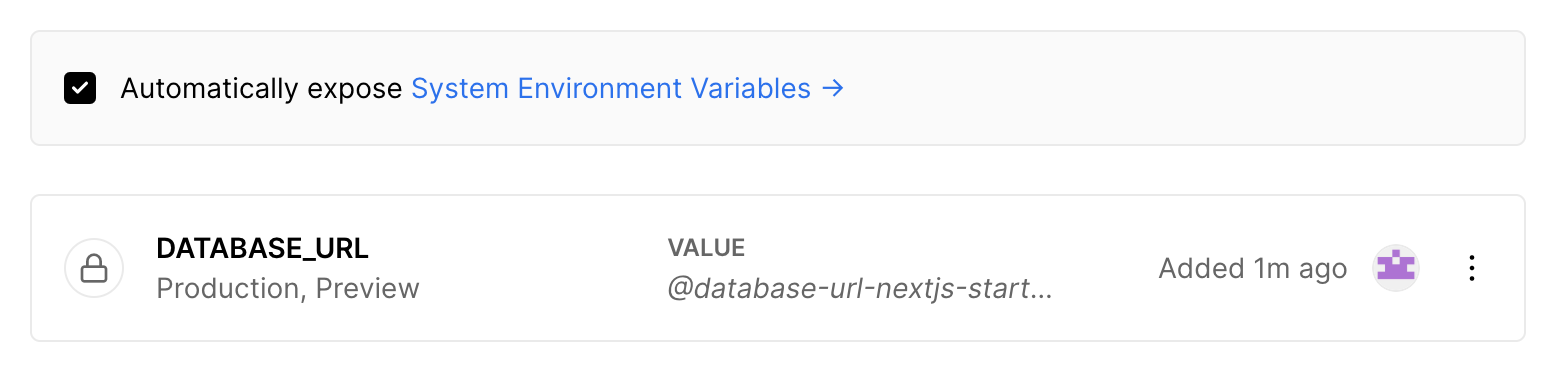
5.2. Add DATABASE_URL
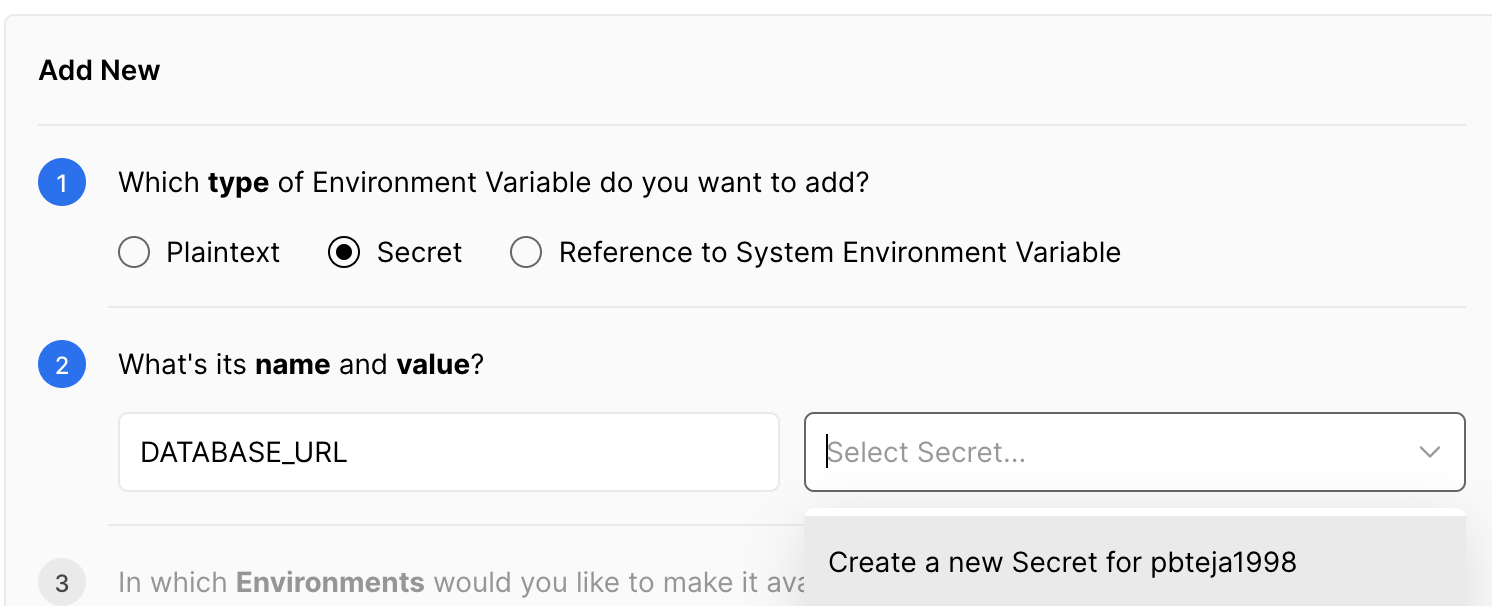
Create a new secret
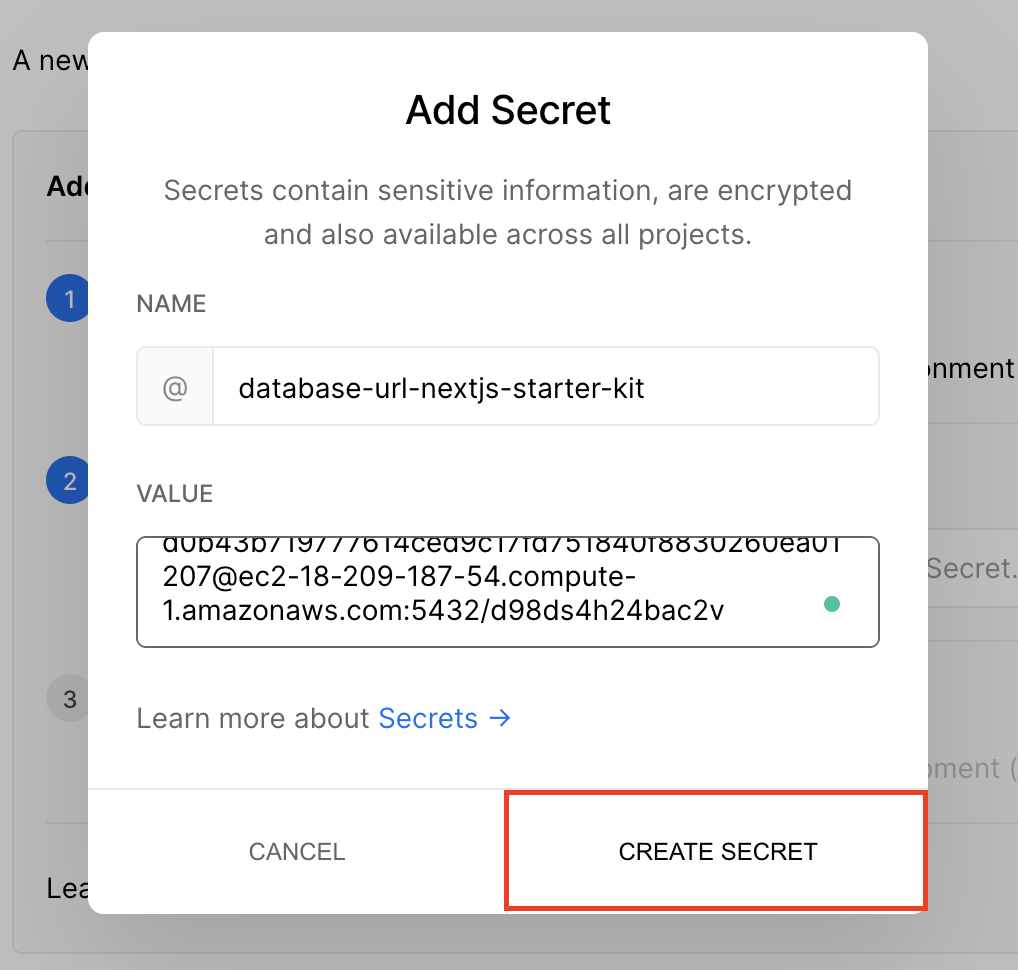
Save environment variable
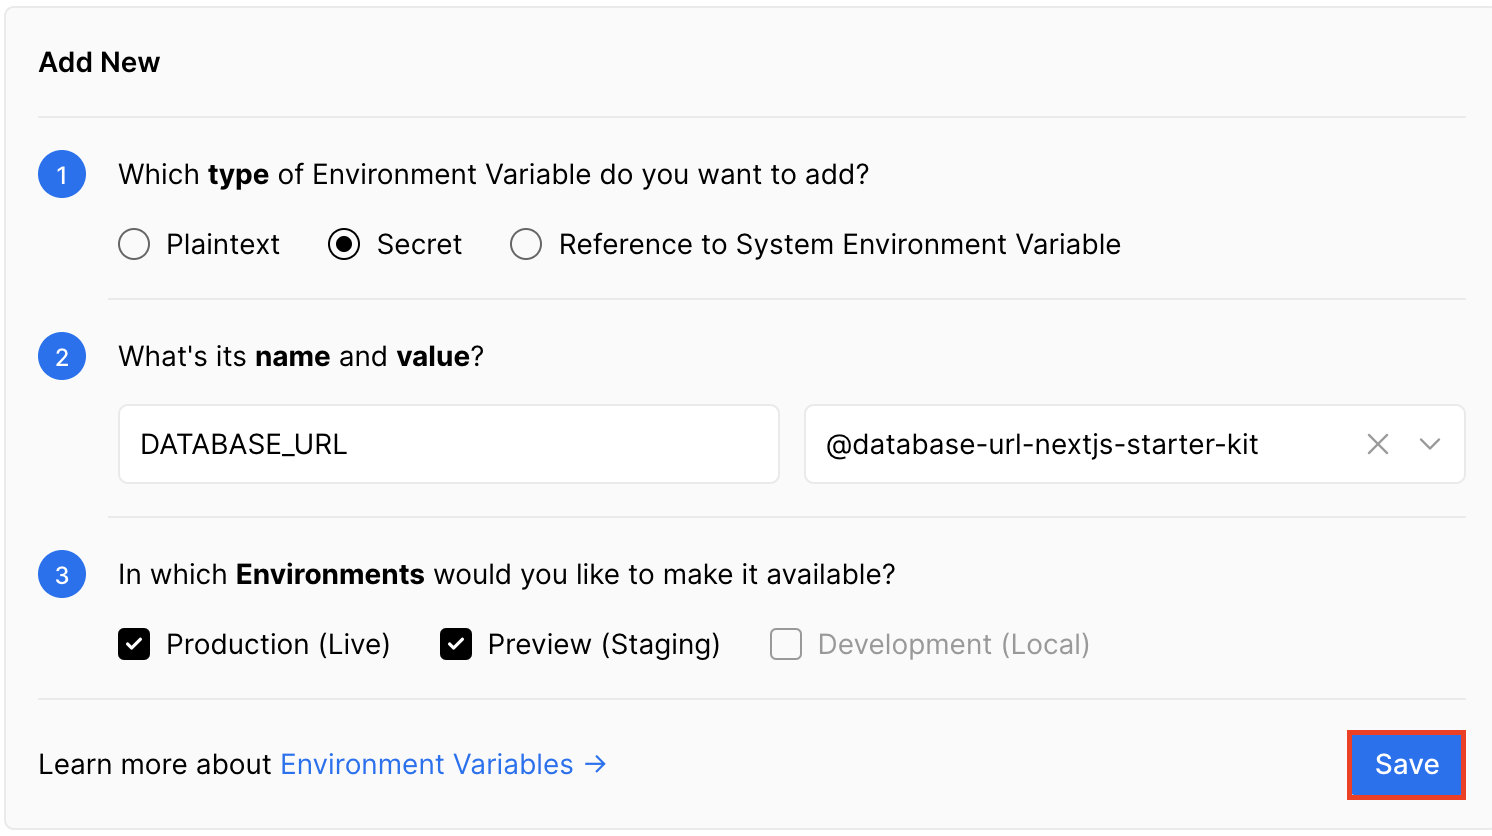
Create NEXTAUTH_URL variable
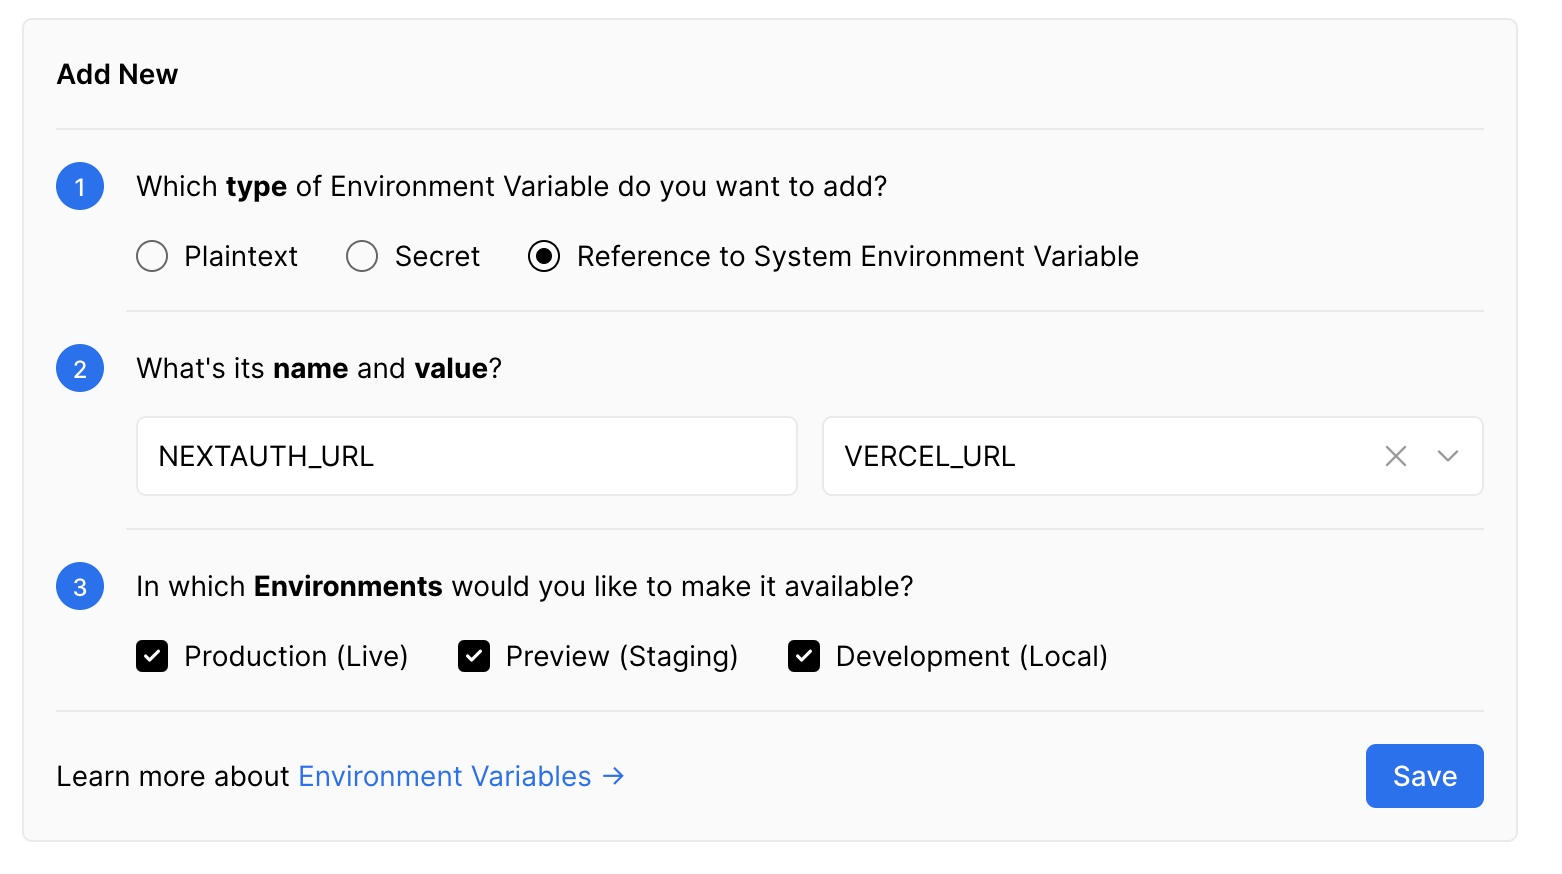
This is the URL of the deployment.
Similarly, create all the variables that you can see in .env.example file of the repo.
SECRET- Some random string
- SMTP_HOST
- SMTP host to send emails from. Example:
smtp.zoho.com
- SMTP host to send emails from. Example:
- SMTP_PORT
- Your SMTP port. Example:
465
- Your SMTP port. Example:
- SMTP_USER
- Your SMTP user. Example:
bhanuteja@mycompany.org
- Your SMTP user. Example:
- SMTP_PASSWORD
- Your email/SMTP password.
- SMTP_FROM
- Email address from where you want your emails to come from.
- GITHUB_ID
- Your Github OAuth App ID
- GITHUB_SECRET
- Your Github OAuth App Secret
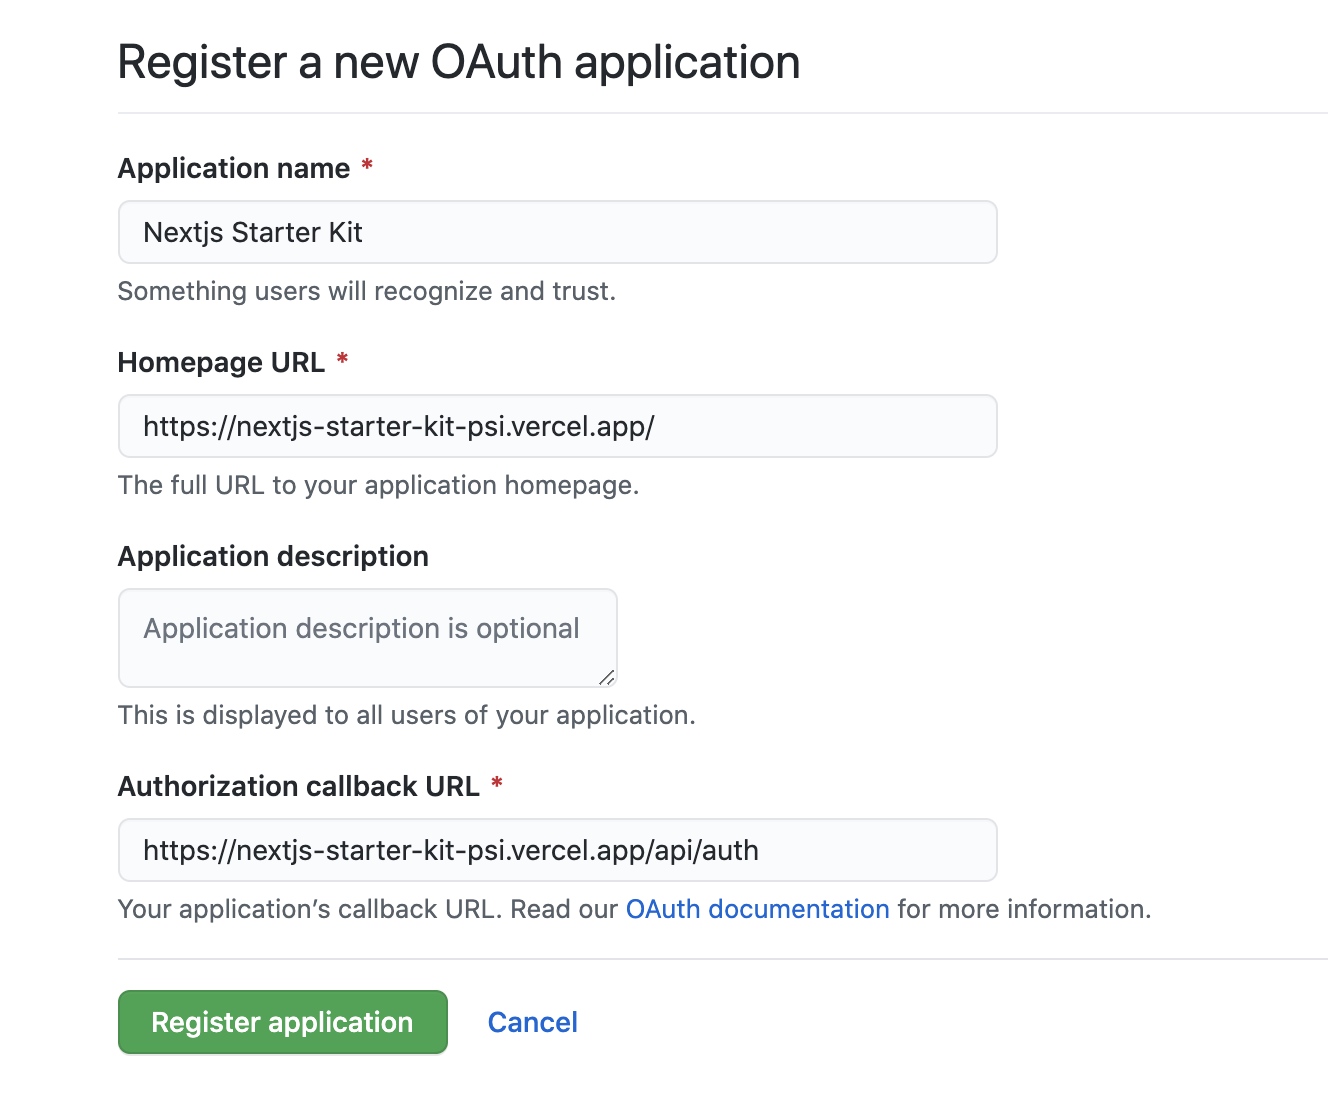
You can follow the steps described here to create a GitHub OAuth application. While creating that OAuth app, add https://<vercel-deployment-url>/api/auth as Authorization callback URL. For example, in my case, I will add https://nextjs-starter-kit-psi.vercel.app/api/auth The rest of the fields, you can fill with anything.
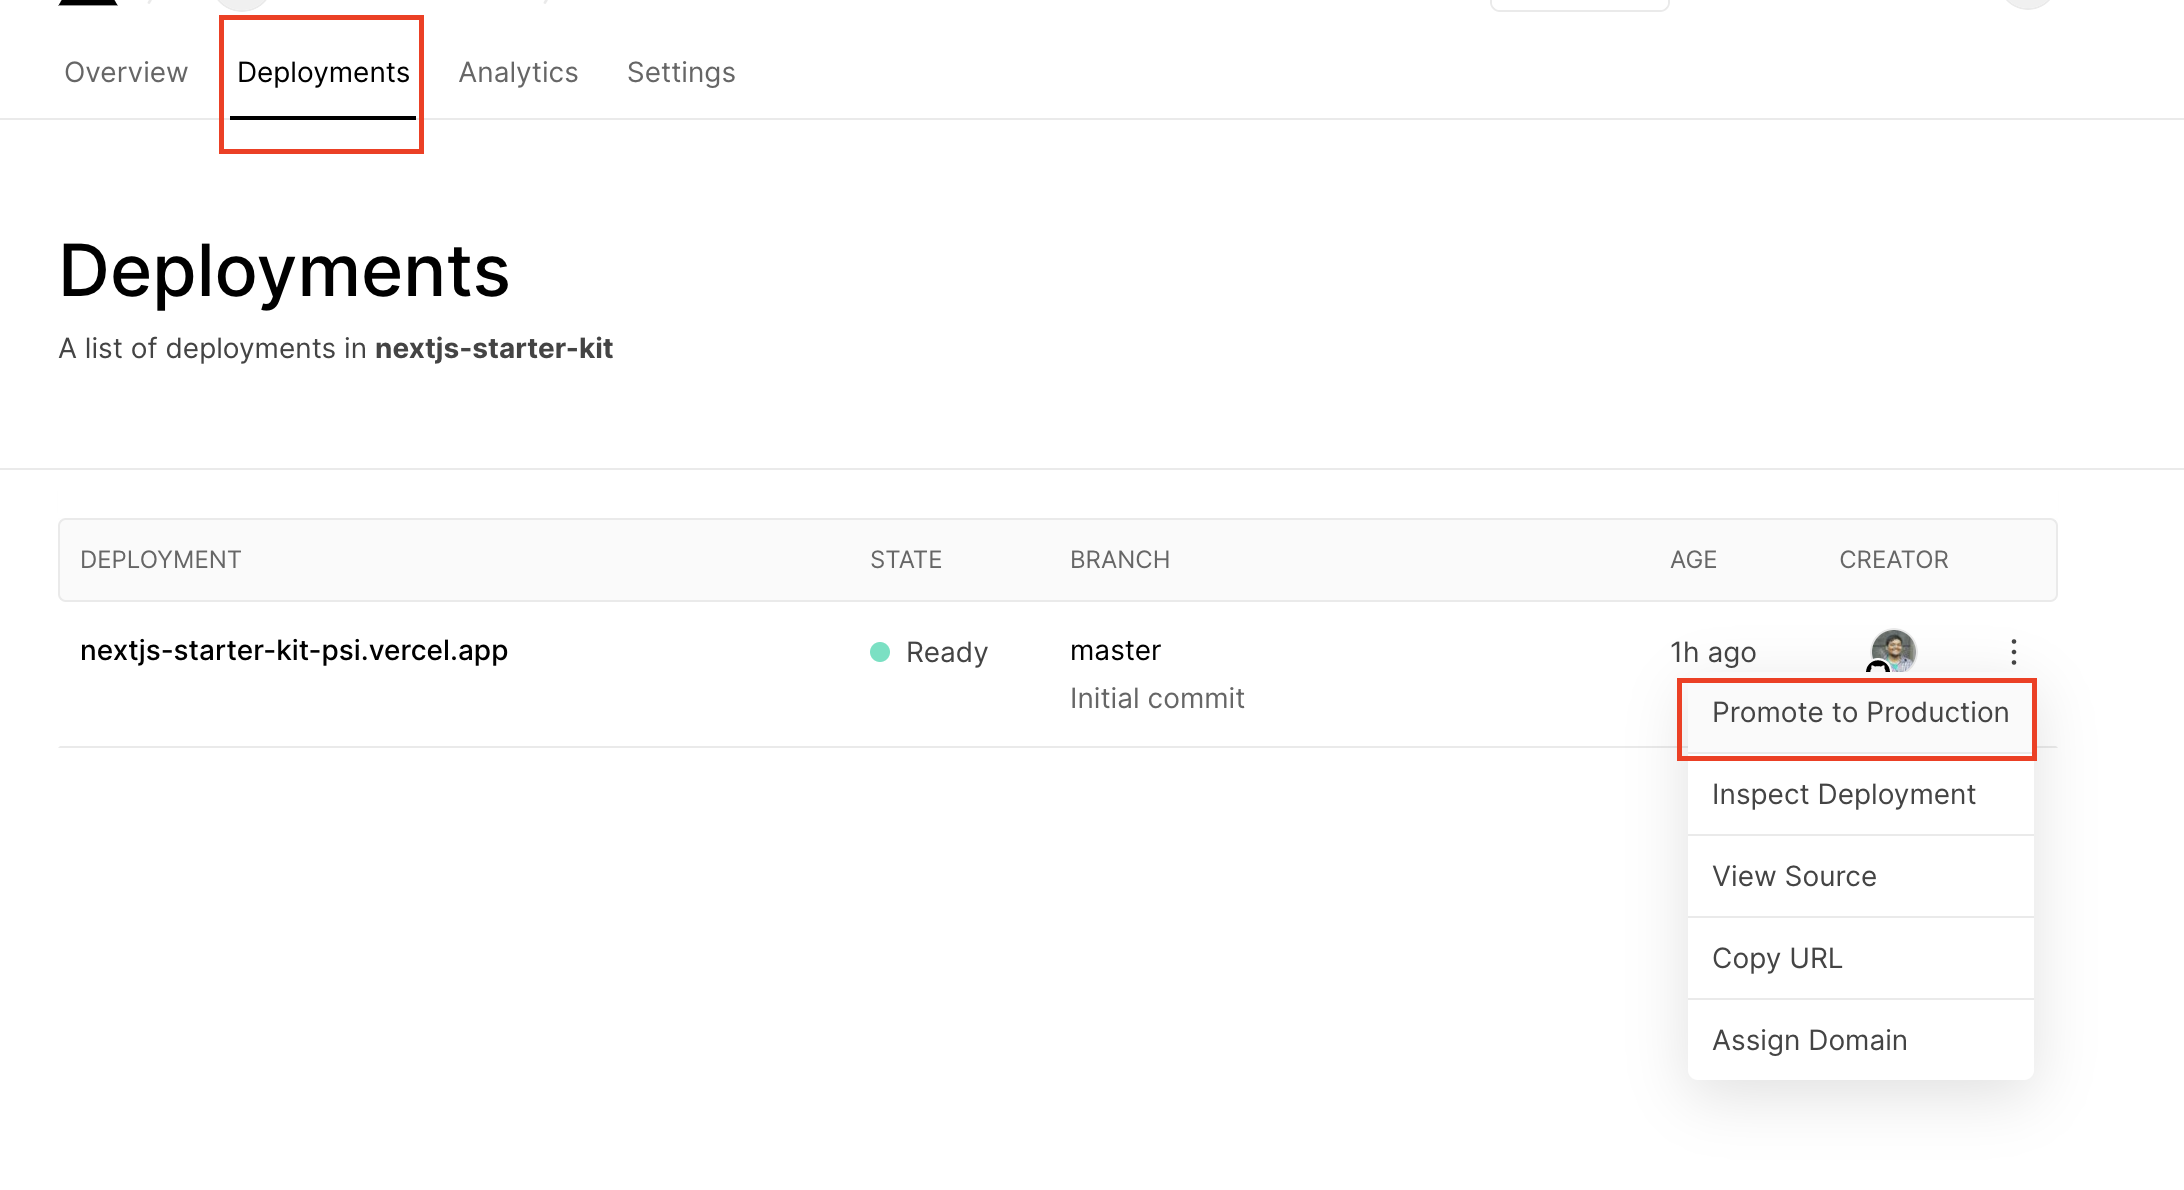
After adding all the environment variables, you need to redeploy the application for the changes to take effect.
Now, your new deployment will have GitHub authentication and passwordless login with email.
I will also make a slim version of the starter kit in the future which will not require any database setup.
If you have any suggestions or face any problems setting this up, open a new issue in the repo. I will be more than happy to help you resolve those. If you like this starter kit, give a star to pbteja1998/nextjs-starter repo.
Until Next Time 👋
If you liked this article, check out
- 3 Simple Steps To Setup Authentication in Next.js
- How to Import SVGs into your Next.js Project?
- Add Typescript to your Next.js project
If you have any comments, please leave them below or you can also @ me on Twitter (@pbteja1998), or feel free to follow me.
Links and References:
About the author
Full-Stack Developer, Entrepreneur and Co-Founder of Coderplex.
Building https://coderplex.in
Checkout my portfolio at https://bhanuteja.dev
Comments
Join the discussionYour app isn't working. I tried to log in with an email and Github authentications but both failed.
Hi Tony Brown
I just tried to login both through email and Github. They both seem to work.
Are you using the correct website? This is the demo URL - https://next-starter.bhanuteja.dev/
Niiice. tailwind 2 config is the same as older versions?
If you have been using config similar to the with-tailwindcss example repo, then PostCSS config is the same.
In tailwind config, you have an extra darkMode: false option.
You also need to add postcss 8 as a dependency.